Configuring iSCSI on Microsoft Windows

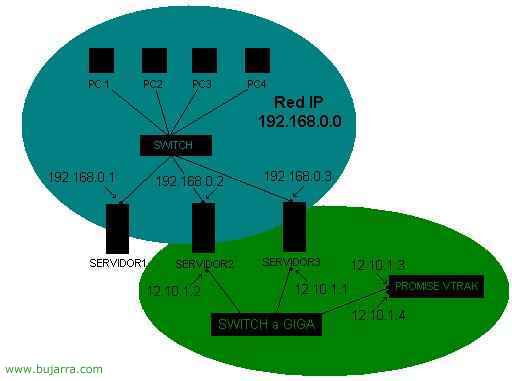
iSCSI is something like :P, is having a disk server (SCSI disks, SATA or IDE with the types of RAID we want to mount), That disk server connects to the network and tricks our other Windows server into accessing those disks as if they were physically connected, Here's a graph of the example you'll see in the document:

A normal network with the IP range 192.168.0.x, Two servers are added to two network adapters (A giga or two iSCSI network adapters, which are more expensive) new and the IP's are put on them 12.10.1.1 and 12.10.1.2 respectively. They are connected to a gigabyte SWITCH. The VTRAK is also connected to this LAN and the two network connectors are assigned two other IPs in the range 12.10.1.x. With this what I want to achieve is that the SERVIDOR3 has the RAIDs of the VTRAK as if they were its own disks and the SERVIDOR2 manages all the configurations and events of the VTRAK.

We installed WEBPAM on SERVIDOR2, We select the access method, or by http or https.
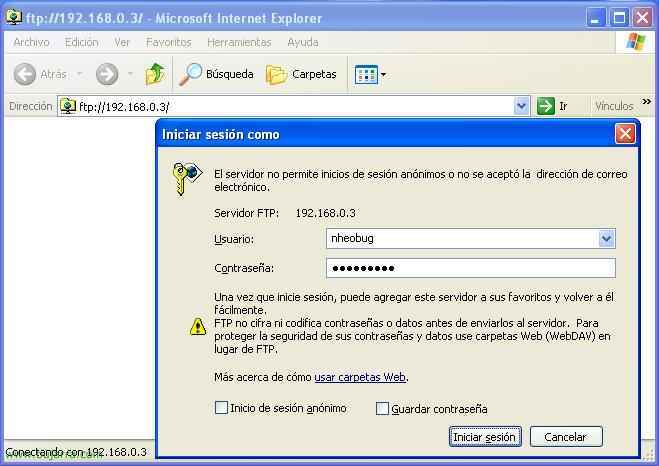
We open I.E and enter the IP of the PC where we have installed the WebPam
HTTP://12.10.1.2:8080/promise
https://12.10.1.2:8443/promise
Default :
user : administrator
contraseña : password

To add the Promise Vtrak
Let's go to Administration tools – Subsystem Management – Add subsystem

Enter the IP of the Device and click on Submit

Once the device is added, Click on it on the left side.

The view of our Vtrak

The first thing we will do is configure the ISCSI nodes.
Let's go to ISCSI Node Information

To modify the data, click on iSCSI Node , we give a name and specify if we want CHAP authentication (If we put it here, it will also have to be put in ISCSI Initiator)

In iSCSI Port Information we put the IPs of the ISCSI ports

In iSCSI Chap we will specify the CHAP password

In iSCSI Ping we can ping a PC to know if the ports are working well.

Once ISCSI ports are configured, we will be able to create the different RAIDs with the physical disks.
The Physical discs inserted into the Vtrak can be seen in Physical Device View.
The RAIDs will be created in Logical Device View, selecting the RAID type and the disks that will be part of each RAID.
After you set up your Vtrak , The connection to the server will need to be configured. There are two ways to set up this connection, one will be using an ISCSI card, and the other using an Ethernet card with Microsoft ISCSI Initiator Software.
If the connection is made using an ISCSI card, we will put an IP and specify the IP of the Vtrak.

If we do it with an Ethernet card, we will need to install the Microsoft ISCSI Initiator software. This software is downloaded from Microsoft for free.
Once the software is downloaded we will run it.

We select the installation location.

We accept the contract.

We carry out the complete installation.
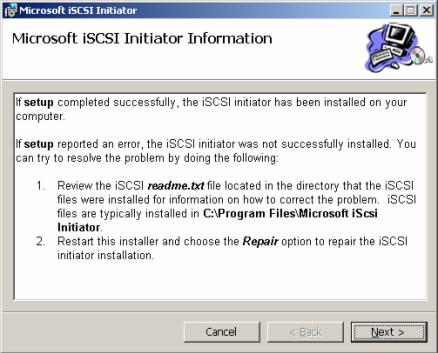
Press Next to finish the installation.

Installation completed, we will go to Control Panel – ISCSI Initiator.

Press Add and enter the IP of one of the iscsi ports on the disk device.

Click on Log On and put authentication if we have specified it on the disk device.
Once connected. If we go to the Windows Disk Manager, The new drives that we will have to partition and format will appear.