
Citrix Desktop Server Installation and Configuration 1.0

This document shows how we can use this Citrix server, which unlike the Presentation Server that publishes applications, With this we publish equipment. We're supposed to have a pool of teams, Usually virtual (View VMware – HERE) and to which we will connect through the Citrix client to them. The example that we will make in this document, we have a department in our organization called Development, where we have multiple users who use ThinClients and will access these computers as if they were their own, All teams in this department have the same applications and configurations.
Citrix Desktop Server Installation – HERE
Configuring desktops with Desktop Broker – HERE
Publishing a desktop – HERE
Citrix Desktop Server Installation,
The installation will vary depending on our organization, In my case, I will only do an installation on a single server, With all components, But logically, the load of each component can be distributed across different servers.

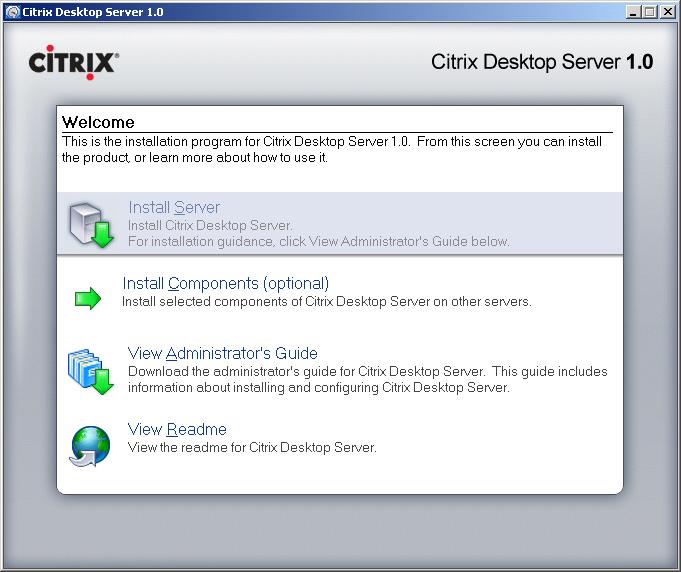
The first thing is to install a server where the community will be stored for “Citrix Desktop Server”, We will need a SQL database, In the CD autorun, click on “Install Server”,

Aceptamos el acuerdo de licencia desde “I accept the license agreement” & “Next”,

If it is the first installation, We must create a server called “Master server”, And if they are additional ones, they would be “Support server”, If it is the first installation, the name of the farm or community must be specified, In my case it will be BUJARRA, “Next”,

We can, if we want, prevent the mock from here (Disable shadowing) or use an existing SQL Server (Use an existing SQL Server), otherwise, It will install SQL Server for us 2005 Express, And if we want it not to install the license component, we will check “Use an existing license server”. We check what interests us and continue “Next”

If we press “Next” It will start the installation now,

… After several minutes of installing prerequisites and installation components…

It will ask us to restart, We have to indicate it “Yes” Since the installation will continue once we have restarted the server.

… Finishing the installation…

Ok, Once finished, Click on “Finish”, And it will open the console for us “Access Management Console”
Configuring desktops with Desktop Broker,
From this console, we will organize all the desktops we have, The equipment pool, lo normal es que tengamos uno o varios servidores con un software de virtualización donde se alojen estas máquinas virtuales, en mi caso supongamos que uso un servidor ESX con 10 máquinas, 5 para el Dpto. de desarrollo y otras tantas para los técnicos. Desde está consola lo organizaremos.

We open the console of “Desktop Broker Console” since “Beginning” > “Programmes” > “Citrix” > “Management Consoles.”. Lo primero que tenemos que hacer es organizar los escritorios por grupos, así que creamos uno desde “Add…”

Le indicamos un nombre y si está habilitado o no. Click on “Add” to create it.

Dentro de cada grupo debemos crear un “Desktop Revision” que será finalmente donde guardemos los equipos reales,

We give you a name, A description (optional) y si queremos que contenga equipos asignados o un pool directamente. La diferencia es, que en un pool de equipos tenemos una cantidad de equipos, la que sea, And a user, when connecting, will connect to any available one., Sometimes to one, other times to another.. And if we enable “Contains Assigned Desktops” The user who logs in first on a machine will get that machine., Users will have assigned machines., This is if certain PCs are different from others.. It will depend on our organization., whatever interests us.

And finally, We can add machines with the right-click button and “Add Desktops…”

We enter the names of the machines we want to include and whether we want them enabled or not. (Marking “Enable Desktops”), We can add them all together.. Click on “Add”.

There we will see how the added machines would look., In the field of “Enabled” We will see if they are enabled/available to users or not.; in the “User” If that PC is assigned or not, and “State” If someone is connected or not..

Este sería un ejemplo de un escritorio asignado a un equipo, la primera vez que un usuario se logee en un PC el campo de “User” cambiará y mostrará a quien pertenece ese PC, lógicamente el contenedor lo tiene que permitir (en las propiedades del Desktop Revision).
Mostraremos resumidamente cómo se publica un escritorio, es cómo en Citrix Presentation Server, en vez de aplicaciones serán escritorios. La forma que un cliente usará a conectarse es igual que a Presentation Server, lo harán con el Program Neighborhood o con el Program Neighborhood Agent (una vez hayamos creado el sitio del Program Neighborhood Agent). Por lo tanto en este documento no se tratará de cómo usar el cliente, para ello está este documento – HERE.

Vamos a la comunidad nuestra y sobre “Desktops” Right-click “New” > “Publish desktop”

“Following”,

Indicamos el nombre del equipo, ya que tenemos pools de equipos no se pone el nombre del PC concretamente, si no el común, por ejemplo para los equipos del Dpto. de Desarrollo pues “PCs Desarrollo”, “Following”,

El tipo de escritorio que vamos a publicar si el de un servidor Desktop Server (“Server Desktop”) o el de un equipo remoto “Workstation Desktop”, “Following”,

In “Desktop group name”, desplegamos el combo y seleccionamos el grupo de escritorios que habremos creado anteriormente en la consola de “Desktop Broker Console”. Configuramos el método de autenticación contra dichos hosts en “Logon Dialog Options”, lo normal es que se use el mismo usuario que se está usando para iniciar el cliente de Citrix, ahí se especifica un usuario, lo ideal es que se use este usuario para logearse en el escritorio publicado; otherwise, tenemos diferentes tipos de configuración para el inicio de sesión. Seleccionamos el puerto de conexión en “Remote Desktop Connection Options”, “Following”,

Seleccionamos los servidores donde se ejecutará dicha conexión, since “Add…”

Seleccionamos los servidores que nos interesen, normalmente todos, “OK”,

“Following”,

Y ahora diremos qué usuarios tienen permisos para acceder a este pool de equipos, since “Add…” y seleccionamos el tipo de directorio, normally “Operating System User Selector”,

Ponemos los nombres de usuarios del Directorio Activo que nos interesen que ejecuten estás máquinas y “Accept”,

“Following”,

The icon it will have and in the client folder that we will put it in, It is normal to organize applications into folders, podríamos meterla en una carpeta llamada “PCs de desarrollo” For example, para que no tengan todos los escritorios juntos, If you don't organize. If we want to put an icon on the shortcut desktop, or organize it and have icons appear in the client's Start Menu automatically, and so they don't know if they are local or Citrix applications. “Following”,

Mark “Configure advanced desktop settings now” so you can configure a little more. Podemos desactivar el escritorio si no queremos que lo usen por ahora. “Following”,

From where we will allow connections, Default “Allow all other connections”,

“Limit instances allowed to run in the server farm” This is how many times we want this desktop to be open simultaneously, For example, if we only have licenses for them to use 10 concurrent users, we should mark it and indicate 10. Or one per user so that they do not open 25 Desktops at the same time and leave them disconnected. And even if it's a high-performance PC, we could give it more or less priority from “CPU priority level”. “Following”,

Normally the PC/desktop doesn't have sound, So we can disable it to save bandwidth, Uncheck “Enable legacy audio”. We modify what interests us, SSL we won't enable it now from here, It's explained in other tutorials, It is also important to leave the check of “Start this desktop without waiting for printers to be created” so that everything goes faster and the first time while the drivers are copied to the server and created on the server the user can work, we even have the encryption level of the ICA protocol for this application, We can leave the one that comes by default or raise it if we have a reason. “Following”,

It is important here to put in the size of the window whatever it is “Full screen” So the desktop has no borders, and since it's like their PC, it uses the full screen, To make it look more realistic. The color depending on the connection, Normal is 16bits. “Finish”, And we will already have the desktop published.
If we want to create a Web Interface, We can look at this document – HERE
I, We can look at this document – HERE
www.bujarra.com – Héctor Herrero – Nh*****@*****ra.com – v 1.0


