Installing and configuring VMware Site Recovery Manager – VMware SRM
Well, Well, Well, I finally had the chance to try VMware Site Recovery Manager or VMware SRM, It is a software that will allow us to automate disaster recovery in our virtual environment. It is designed to 'move’ Our Virtual Environment, if we have a virtualized datacenter/data center and we want to be protected against any catastrophe, we will have another datacenter/data center replicated in another building, logically connected with fiber. VMware SRM relies on the replications that the manufacturers of storage arrays give us the possibility of giving a little red Pentagon-type button, and transfer all the execution that is carried out in one DPC to the other, Lifting the VMs on the target data center, with the same configurations and data that we had in the original data center. With this, We'll set up our(s) plan(is) Recovery, and we will have the possibility to test that the configuration is correct and would rise well in the destination datacenter/CPD. Since today without this product it is unthinkable what would have to be done if we want to manually lift a DPC in case ours has burned out. It's a product that integrates with our VMware Infrastructure virtual infrastructure, VMware VirtualCenter, and replication software from storage manufacturers. Today, the following manufacturers already have software compatible with VMware SRM: 3PAIR, Dell, EMC, FalconStor, Hitachi Data Systems, HP, IBM, LeftHand Networks and NetApp.
This is my current situation, with which I will make the example. I have two locations, My main CPD would be “Bilbao 1” and in it I have my VMware virtual infrastructure, which consists of something simple such as an ESX host called 'esx35u201', VMware vCenter Server on 'w2k3r201', a Lefthand Network VSA storage array called 'vsa01’ and a couple of VMs running on the ESX host. What is intended is, If it burns me (or any other catastrophe!) The primary data center immediately passes the entire execution of my virtual environment to my secondary data center, Simply by pressing a little red button. And as it looks, in the other data center what I have to have is similar hardware, it has to support at least the virtual machines that we want to build, they do not have to be all of the origin; but he must dispose, at least one ESX host (In my case 'esx35u202'), a VMware vCenter server (In my case 'w2k3r202') and a cockpit to which the data from the main cockpit can be replicated, VMware Site Recovery Manager replication relies on manufacturers' replication, so my cockpit would be configured with replication of the LUN'es that I'm interested in (VMware Shared Storages). And I also have them in the same network range!! In this case, we wouldn't care.
So okay, this document shows the VMware SRM part, So I already have the following set up, so it's taken for granted:
CPD1:
– Host(s) VMware ESX installed(s) and with machine(s) virtual(is).
– VMware VirtualCenter Team
– Storage Array with LUN'es Replica Configured to CPD2 Array.
CPD2:
– Host(s) VMware ESX installed(s).
– VMware VirtualCenter Team.
– Storage Array with CPD1 Configured LUN'es Array Replica.
List, So let's start, VMware Site Recovery Manager will need to be installed on both VMware Virtual Center servers, so you can set up protection and recovery plans. We will be able to test this entire environment since VMware will leave us DEMO licenses of the product on its official website (http://www.vmware.com/products/srm/), well, we run the VMware SRM setup program, “Next”,
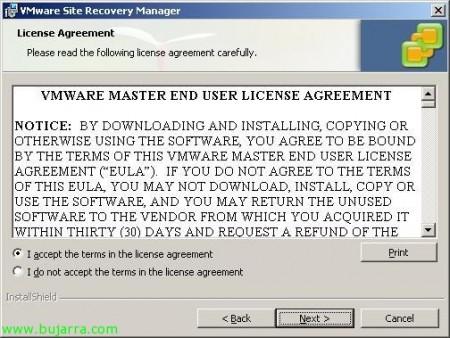
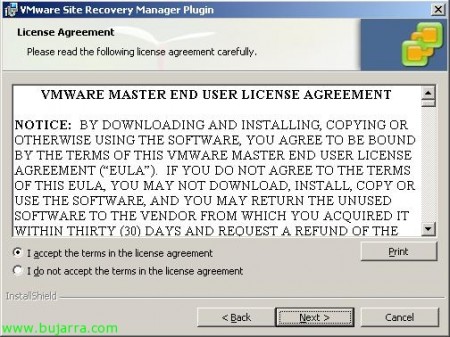
We accept the license agreement “I accept the terms in the license agreement” & “Next”,
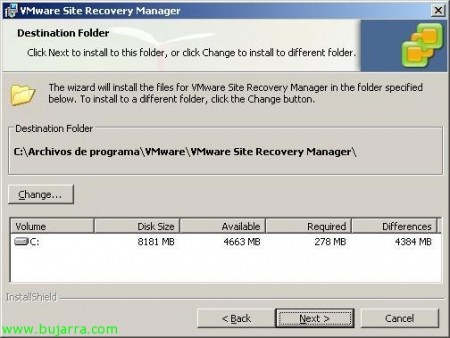
Select the path to install it, by default we can leave it at “C:Program FilesVMwareVMware Site Recovery Manager”, “Next”,
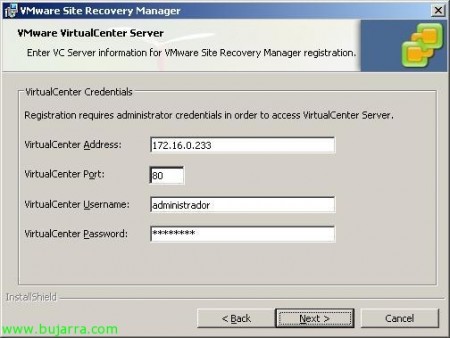
We must enter the information of our VMware VirtualCenter server, IP address or name, The port (Default 80TCP), and the username and password of the Infrastructure administrator, “Next”,
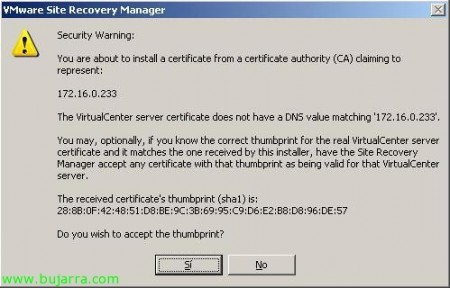
Ok, Connection achieved, We must confirm the certificate as it is private… “Yes”,
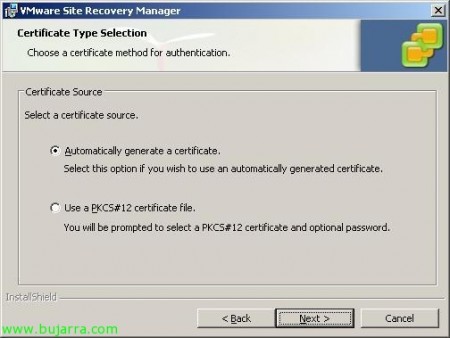
How the connection between VMware SRM and VMware vCenter goes via SSL, We need to generate a certificate to encrypt that connection, so we can instruct you to generate a certificate for us automatically by dialing “Automatically generate a certificate” & “Next”,
We enter the data for the Organization certificate and name of the Organizational Unit, “Next”,
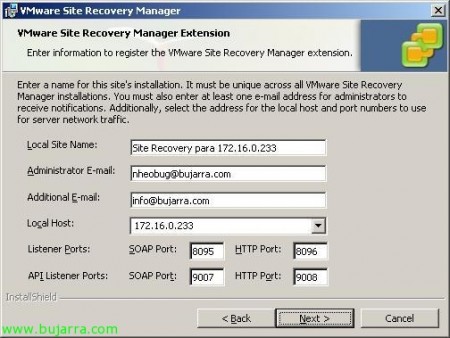
GOOD, now we need to give a name to the VMware SRM site we're creating, so you can put a name that is easy for us to associate with the first data center or the name that interests us, in addition to entering an email address where we will receive all notifications. As well as the IP address we want this VMware SRM site to use and the ports it needs, by default the listening ports are: SOAP Port 8095 for SRM requests, HTTP Port 8096 to download the SRM plugin; and listening ports “API Listener Ports” are for SRM API, We leave the default ports 9007 for the SOAP port and 9008 on the HTTP port.
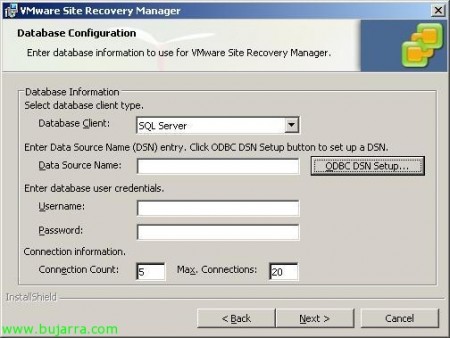
VMware Site Recovery Needs a Database, we select an existing SQL on our network or install a SQLExpress or MSDE. In “Database Client” Mark “SQL Server”, and we must create an ODBC for the connection to it, Click on “ODBC DSN Setup…”
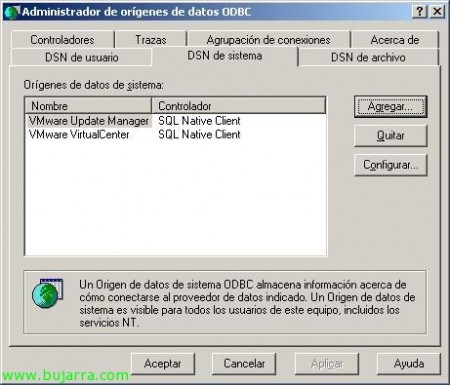
Let's go to the tab “System DSN” > “Add…”
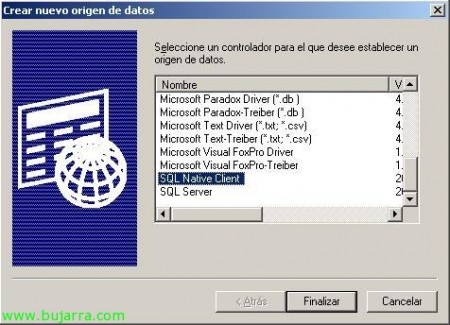
Mark “SQL Native Client” (If you don't have it, you have to download and install it from the Microsoft), “End”,
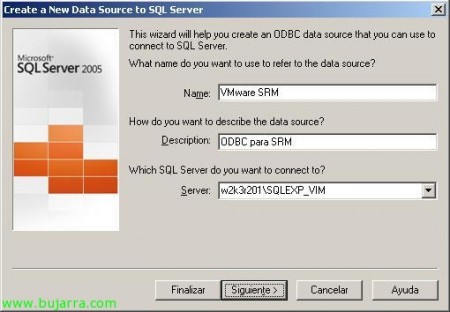
We enter a name to the DSN connection, a description and a SQL Server to which we will connect. In my case, I'll connect to the instance that created the VMware vCenter installation called SQLEXP_VIM, I have previously created a database in it, for production not recommended), “Following”,
We introduce authentication against the SQL Server or the database, “Following”,
And we select the database where we will store all the VMware SRM info, “Following”,
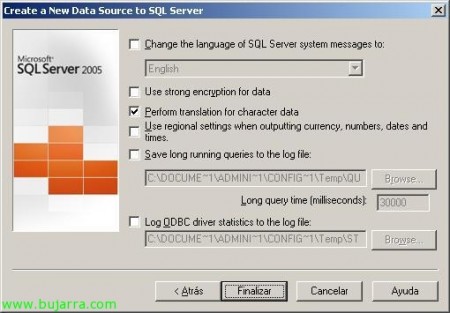
“End”,
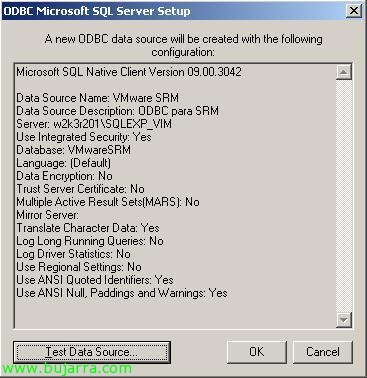
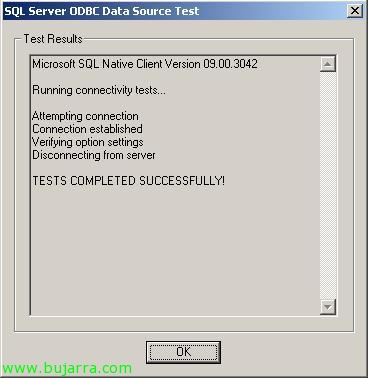
We test connectivity “Test Data Source…”
“OK” Not bad,
Continuing with the VMware Site Recovery Manager Installation Wizard, we already enter the name of the DSN that we have just created, We enter the database credentials, “Next”,
Ready to install, Pressed “Install” to get it started,
…
After a few minutes we have VMware SRM installed, remember that this same process will have to be carried out on the other VMware VirtualCenter server, but without the same setup, since in one the protection plans are configured and in the other the recovery plan. “Finish”.
Eye, now we will need to restart the VMware VirtualCenter services to update the information, So we open up the console “Services” of the “Administrative Tools”, We seek service “VMware VirtualCenter Server” and with right button on top “Reboot”.
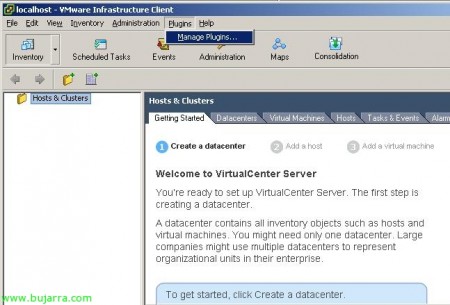
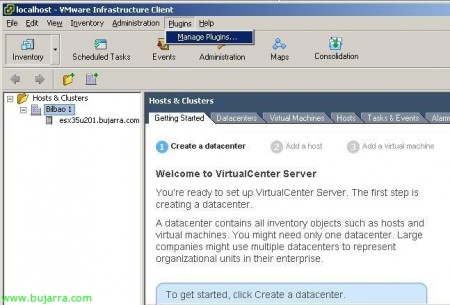
GOOD, Once installed, we need to connect to the VMware vCenter server to install and enable the VMware SRM plug-ins, we will do this in both nodes as well. So ale!
We're going to “Plugins” > “Manage Plugins…”
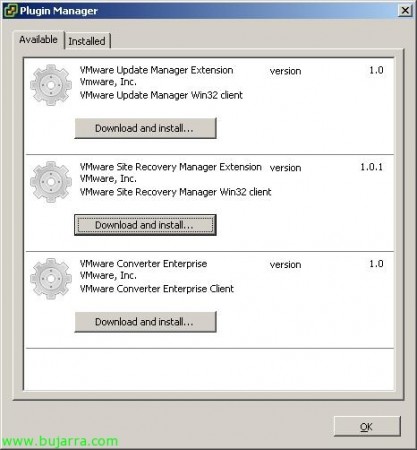
We see the VMware Site Recovery Manager Extension Plugin (version 1.0.1), Click on “Download and Install…”,
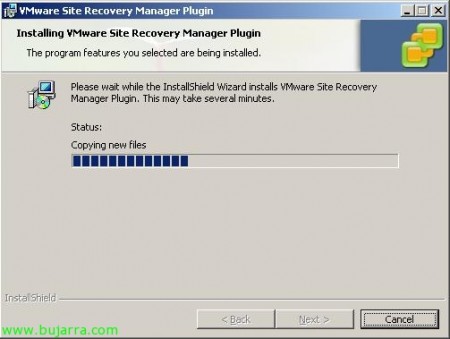
A brief MyWife installation wizard will begin, “Next”,
We accept the license, “Next”,
And we click on “Install” for you to install 😉
…
List, after a few seconds we have it installed, Click on “Finish”,
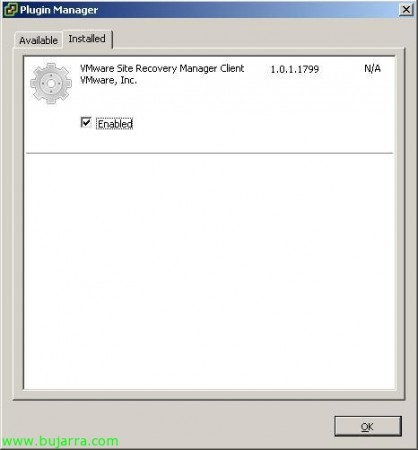
Now we need to enable the plugin, for this, We return to “Plugins” > “Manage Plugins…”
And we scored “Enabled” in the VMware Site Recovery Manager Client, “OK”,
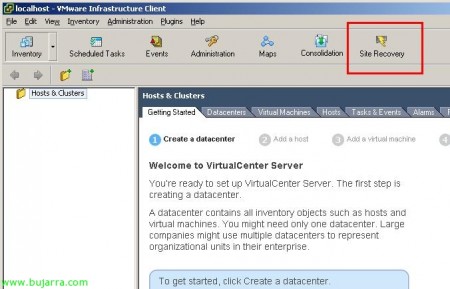
If the button does not appear “Site Recovery” we must close the VMware Infrastructure Client console and reopen it; Click on “Site Recovery”,
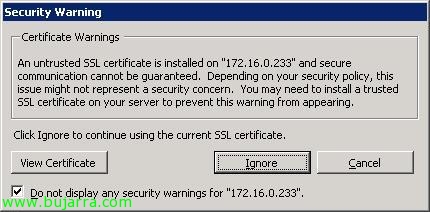
How is the first time we connect, We must ignore the private certificate that we have generated before, we will also mark “Do not display any security warnings for…” & “Ignore” so that it does not bother us with alerts of this type.
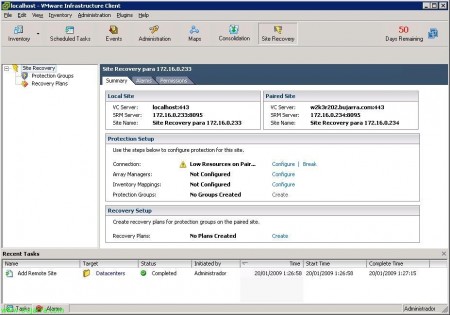
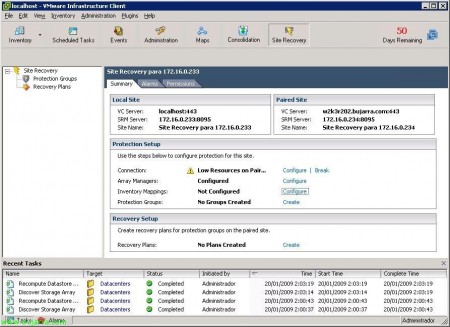
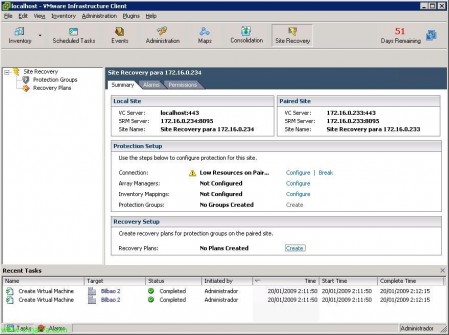
GOOD, this would be the main view of our VMware Site Recovery on both nodes, What we have to do is simple, configure it in each node what interests us. In the main data center we must configure only the part of “Protection Setup” where we will create what resources we want to protect, and in the backup DPC, create only a recovery plan, or “Recovery Plan”, with this we indicate which resources we want to move from one Datacenter or DPC to another. In principle, that is what will be configured in this document, whether the secondary data center would also have a workload, and have virtual machines configured, and we were also interested in configuring it so that in the event of a catastrophe everything would go to the DPC 1, the Protection configuration would have to be repeated in the secondary SRM (something we won't do in this doc). Since we will simply protect the primary DPC so that it rises in the secondary DPC.
So in the VMware Site Recovery of the DPC 1, we will have to configure in “Protection Setup” What We'll Protect, first we will configure the connection between one SRM server and the other SRM server, Click on “Connection” > “Set”,
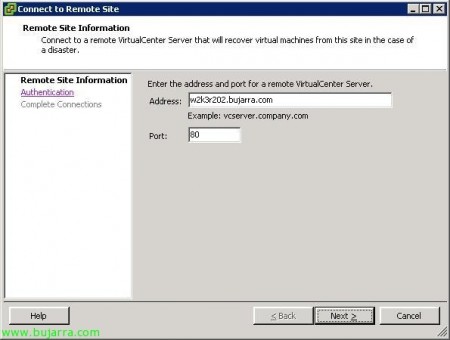
We indicate the remote name of the other VMware Site Recovery server which is the same as the VMware VirtualCenter, as well as its connection port. We must check that there is logically connectivity between both DPCs and the name resolution works correctly. “Next”,
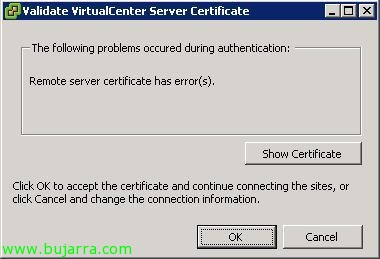
It tells us that the certificate is invalid, We accept it by clicking on “OK”,
Enter the remote VMware vCenter credentials, “Next”,
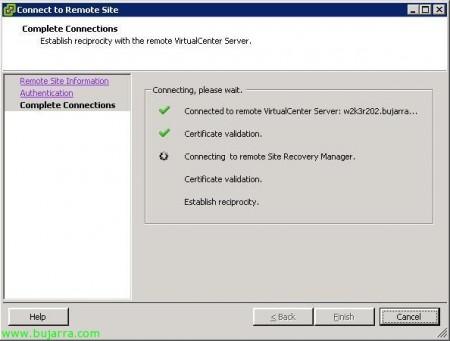
… We wait while you check the connectivity…
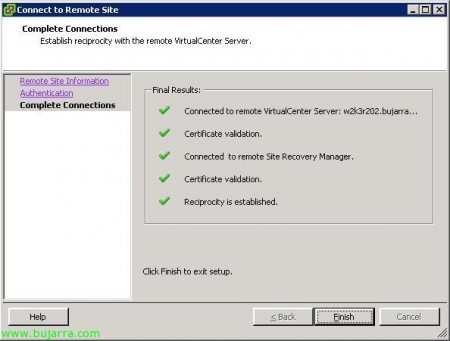
Ok, ready, There is a perfect connection, Click on “Finish”,
We continue to configure the protection of our main virtual environment, Now we will configure the members and the shape of the replication of our cabin, through the management software of each storage platform, called SRA, Be it HP, EMC… Click on “Array Managers” > “Set”,
We select the storage array where the VMs in our source virtual environment are stored, by clicking on “Add…”,
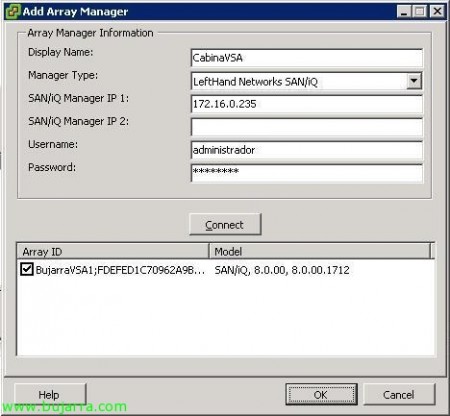
We enter a name to the array, We indicate which is its manufacturer, in my case it's a “LeftHand Networks SAN/iQ”, we indicate the IP address of each of the controllers, and credentials to be able to connect to the cabin, Click on “Connect”,
And this shows us the storage of the first cabin, “OK”,
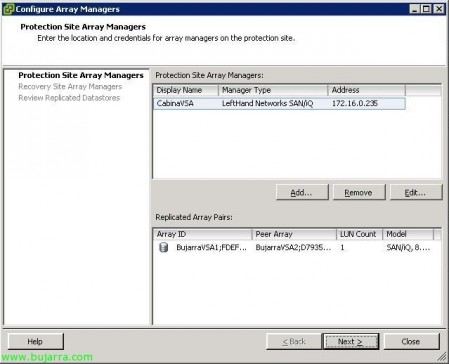
Listi, Continue, “Next”,
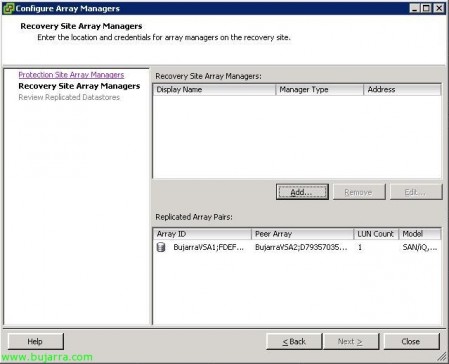
Now the same, but for the controlling company destiny, Click on “Add…”,
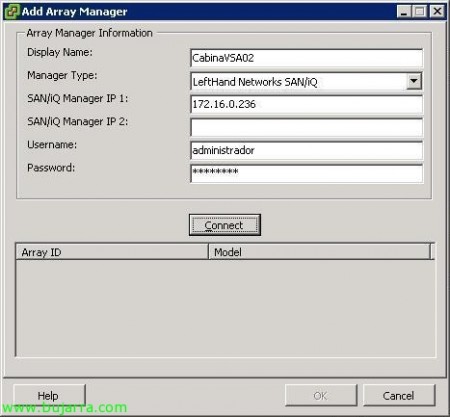
And we added it, We give you a name, Same as before, but now we will indicate the IP addresses of the controllers in addition to the credentials, “Connect”,
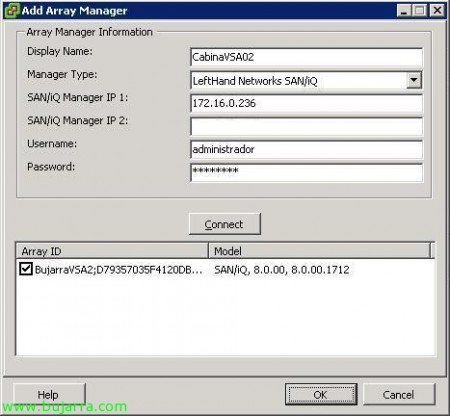
We check that it is correct, “OK”,
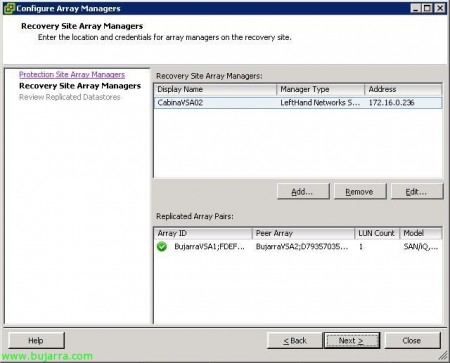
Ok, ready, we get the storage of the secondary cabin, “Next”,
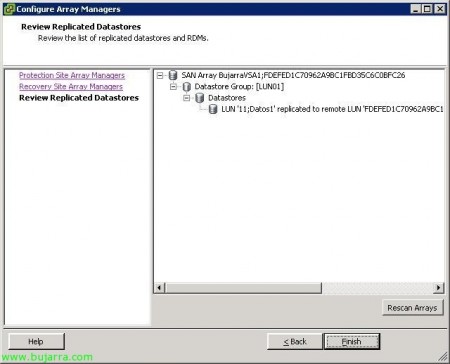
And with this, we see the replication of both replicated nodes, you can see what the datastore is called and the replicated LUN's, “Finish”,
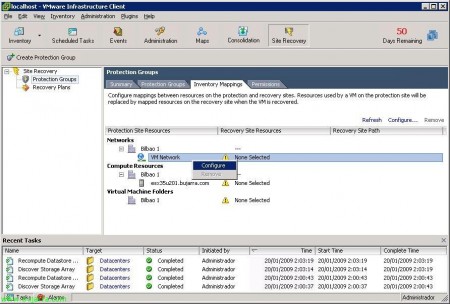
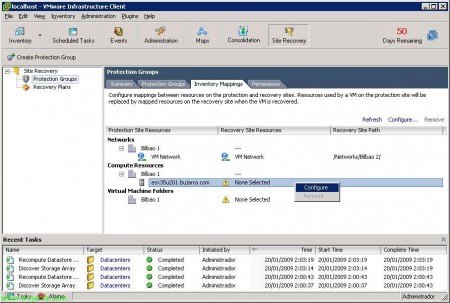
Continue, Tap Set up the inventory part, This is, we will associate the virtual networks that we have generated in the main Datacenter with the secondary Datacenter, as well as the ESX host or the source and destination datacenter. Click on “Inventory Mappings” > “Set”,
In principle, we must associate the virtual networks that we have created in the first Datacenter with those of the second Datacenter, so on each of the virtual networks, Right-click > “Set”,
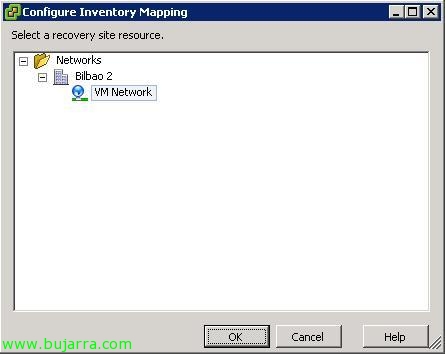
We indicate which network is its counterpart and click on “OK”,
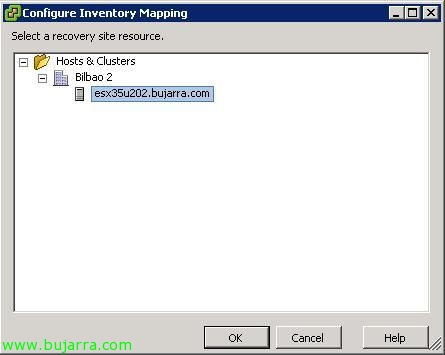
Ditto for host resources, We mark each server and right-click “Set”,
We select the destination host & “OK”,
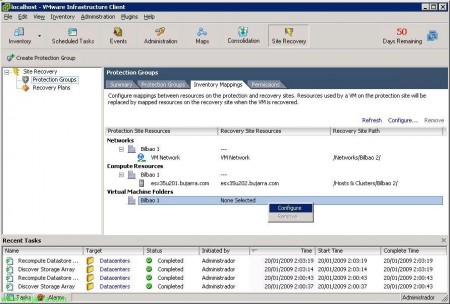
And ditto with the Datacenter, “Set”,
Select the target Datacenter & “OK”,
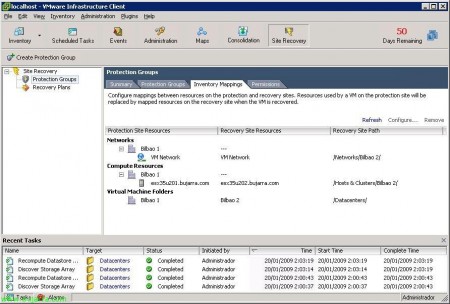
List, We already have the mappings between the resources of our protection and recovery profiles configured.
We return to the “Site Recovery” and set up a protection group for our primary data center, Pressed “Protection Groups” > “Create”,
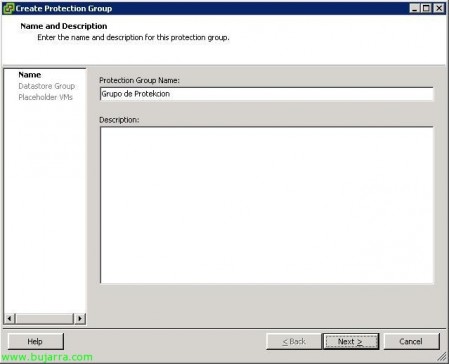
We provide a name and I would recommend a description as well, to find out what this protection group does, in case we have more, depending on the virtual machines we want to move and where, “Next”,
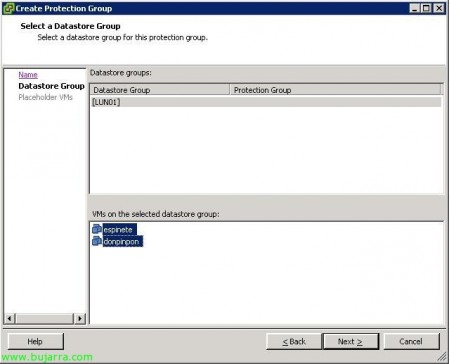
We select which datastores we have and which machines we want to be available ,
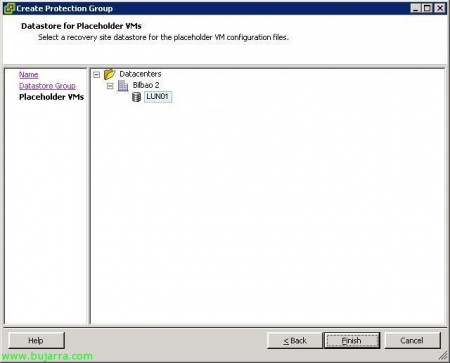
We indicate the destination datastore where they will be located, “Finish”,
In principle, we have already configured everything in the main DataCenter, We already have a protection group created, now we must go to the destination Datacenter and create a recovery plan to be able to lift everything that interests us in the secondary Datacenter in case of a catastrophe.
So we log in to the secondary VMware SRM server and we're going to “Site Recovery” and there we must create a recovery plan from “Recovery Plans” > “Create”,
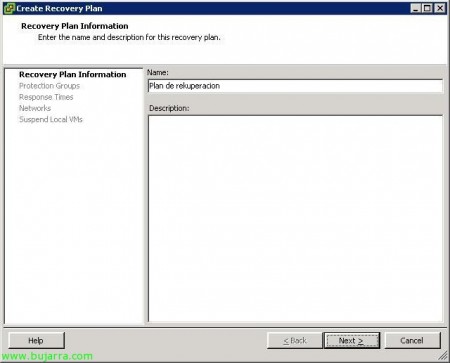
We indicate a name for the recovery plan, “Next”,
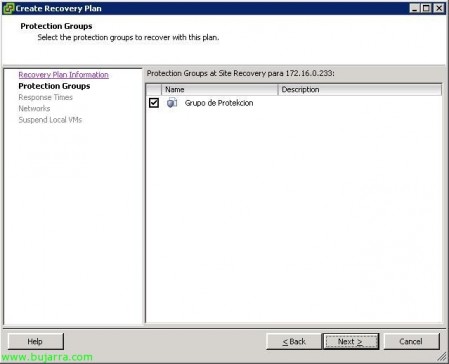
And this shows us the protection plans that we have available in the main DataCenter, in my case I only have one that has all my virtual infrastructure, “Next”,
We indicate extra times for when a recovery of the entire environment is carried out, “Next”,
Select the network that will be used for the tests that we want to do to test if we want to check that everything works correctly,
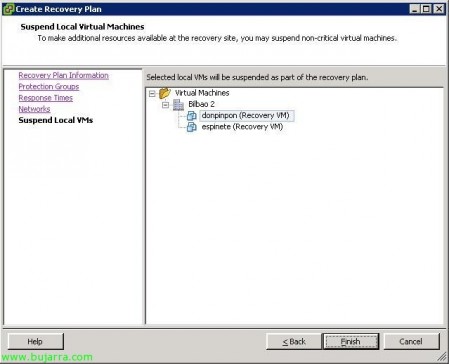
We select the VMs that we want to keep with the status 'suspended'’ when migrating to the new DataCenter, This will be if we are short of resources and lift the critical machines, “Finish”,
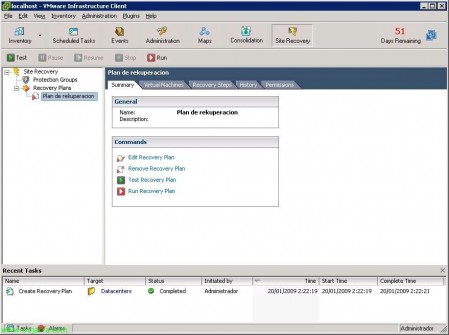
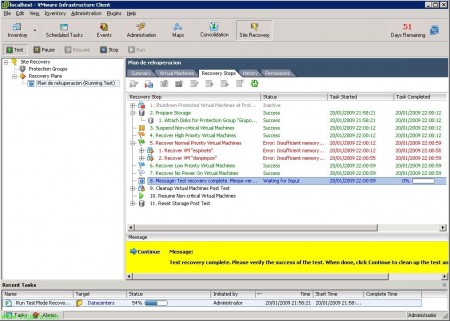
And now all that's left is to test our new environment, that works well and would be able to perfectly perform the migration of our virtual environment between different DataCenters, for this we have a green button “Test”,
It tells us that we may lose performance when performing this task, although in principle it should not affect users and they can continue working, since this is just a test, “Yes”,
… we check how resources are moving from one server to another…
And that's it, we will see in green the satisfactory tests and in red what is misconfigured. In my case, everything is fine except for the recovery of the virtual machines, since they can't get up because my resources are scarce (logical if my ESX server is virtual, and cannot run VMs on it!), So we check that everything is correct, all the steps and if we are satisfied we can click on “Continue” to return to the VMware Site Recovery Manager home screen.
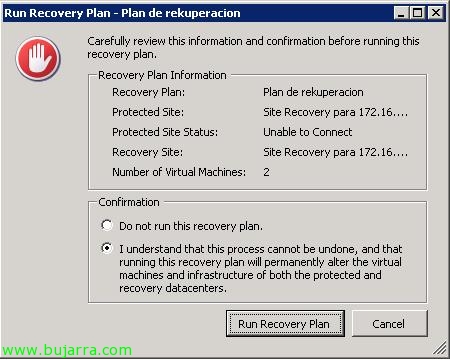
Eye, if we hit the red button, we must accept that there is NO possibility of a turning back, This is, The version 1.0 VMware Site Recovery allows us to migrate the virtual environment from our primary to secondary data center, but not automatically going back. So we would accept the condition and execute “Run Recovery Plan” In the event of a disaster (I hope never)!


