Migrate VMware Update Manager 1.0 a VMware vCenter Update Manager 4.0
After migrating our VMware vCenter server from the 2.5 to the version 4.0 (HTTP://www.bujarra.com/?p=2700) we have to update the other components that we have installed, in this case we will update the VMware Update Manager environment 1.0 that we had in VMware Virtual Center 2.5 to the new environment for use with VMware vCenter 4.0 (vSphere), called VMware vCenter Update Manager 4.0. This will be a process to be performed before proceeding with the migration of the environment 2.5 a 4.0, since after updating the Update Manager, we will update ESX hosts from version 3.x to the 4.0, and then the virtual machines (both the hardware version of the 4 to the 7 and VMware Tools to the latest version). All this in future documents.
Lo dicho este es un documento a realizar nada más migrar nuestro servidor VMware vCenter a la versión 4.0. Antes de comenzar con la instalación haremos un backup de la base de datos de Update Manager, which will be in SQL format.
If we have noticed during the migration, it already tells us that we have the extensions in our VMware Update Manager and VMware Converter Enterprise for VirtualCenter Virtual Center installed, therefore we will have to update both. Además es importante poner el servicio “SQL Server browser” como servicio “Automatic” e iniciado.
Para actualizar, simply, metemos el DVD de vCenter Server 4.0 y pinchamos en el link “vCenter Update Manager”,
Nos saldrá el asistente de instalación del “VMware vCenter Update Manager”, debemos completarlo de la forma MyWife, o sea ‘Sí cariño, Yes baby’ y lo tendremos instalado 😉 Seleccionamos el idioma.
Nos debe detectar que tenemos instalada una versión anterior de VMware vCenter Update Manager, We give “OK” para actualizarla a la última versión.
“Following” to get started with the migration,
We accept the agreement “I accept the terms in the license agreement” & “Next”,
We must indicate who is vCenter Server, HTTP port (Default 80), the administrator user and his password. “Next”,
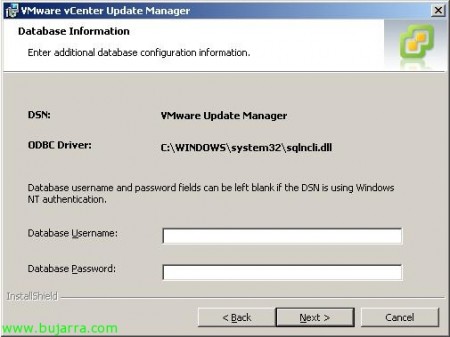
It shows us the DSN information, to establish the ODBC connection, we must provide the username and password with permissions for that database if our authentication is SQL-based, if we have mixed authentication, and the user we are logged in with has permissions on that database, we can leave the fields empty, “Next” to continue,
Mark “Yes, I want to upgrade my Update Manager database” and “I have taken a backup of the existing Update Manager database” to confirm that we want to update Update Manager to the latest version and also, we confirm that we have already backed up the database. “Next”,
We select the Update Manager server name, its SOAP port (Default 8084), your Web Port (Default 9084) and its SSL port (Default 9087). Click on “Next”, if this server needs a proxy to connect to the internet, debemos configurarlo marcando “Yes, I have Internet connection and I want to configure proxy settings now”.
GOOD, Click on “Install” para comenzar ya con la actualización,
… esperamos unos minutos mientras nos migra los binarios y la DB…
Una vez actualizado perfectamente, Click on “Finish” para salir de la instalación de la parte servidor.
Now, debemos actualizar los plugins en el cliente “VMware Infrastructure Client” en los puestos que usemos para administrar el Update Manager, sería tan fácil cómo abrir el cliente, ir a la pestaña “Plug-ins” > “Manage Plug-ins…”
We will see in the part of “Available Plug-ins” that we have to download and install “VMware Update Manager Extension”, So we click on “Download and Install”,
… esperamos mientras se descarga…
Seleccionamos el idioma de instalación para el cliente de Update Manager & “OK”,
Comienza el asistente de instalación del “VMware vCenter Update Manager Client”, So we click on “Next” Getting Started,
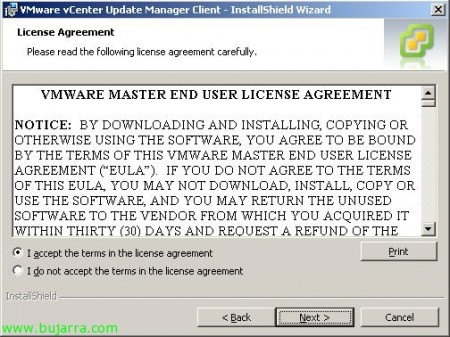
We accept the agreement “I accept the terms in the license agreement” & “Next”,
Nos informa que como ya nos detecta el cliente de VMware instalado, en %ProgramFiles%VMwareInfrastructureVirtual Infrastructure Client, nos instalará la extensión de Update Manager en %ProgramFiles%VMwareInfrastructureVirtual Infrastructure ClientPluginsUpdate Manager 4.0. So we click on “Install”,
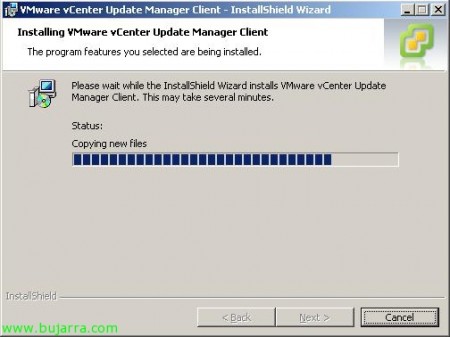
… esperamos unos minutos mientras nos instala el cliente…
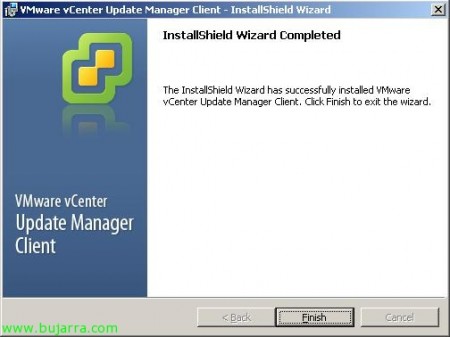
“Finish”, y ya tendremos el cliente para poder gestionar VMware vCenter Update Manager!
Y veremos en el Plug-in Manager que ya tenemos la extensión habilitada (Enabled). Click on “Close”,
Y automáticamente ya tendremos el icono de “Update Manager” en la vista de “Home” del cliente de infraestructuras, ya podremos entrar y comprobar que nos ha migrado perfectamente toda la configuración que teníamos en la anterior versión.


