Customize Citrix StoreFront 3.x

I leave you with a fairly simple document of how in a few minutes that we dedicate to it, we will be able to give a new face to our Citrix application portal or desktops, our beloved StoreFront! It is very easy and very appreciated by our users to make a cool corporate portal! And if users don't thank us, We know that managers do 😉
In this document we base ourselves on modifying a StoreFront 3.5, But we could use it for any version of 3.x. And if not, I will always recommend the way I do to know what and where to modify, I'm sure some of them make it easier, but I use a Firefox extension called Firebug. Spend a couple of minutes on it and you'll see how easy it is to modify a website to know what to touch on the 'real' files later.
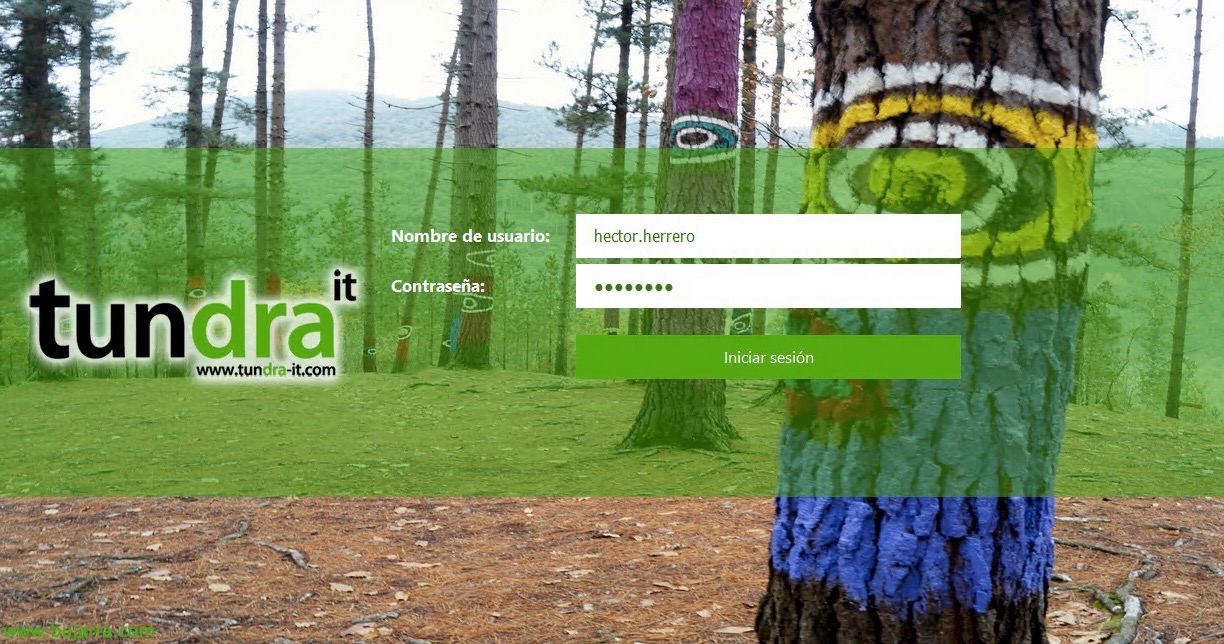
This would be an example of a custom portal, using our corporate image:

If we want to have an interface like the one in the image, where we can change logos, Text/button colors, The Bottom… we will be able to follow the following steps and in a few minutes we will have it!!
Background image
It will be enough to replace the file 'C:\inetpubwwwrootCitrixStoreWebreceiverimagescommonReceiverFullScreenBackground_46E559C0E6B5A27B.jpg’ for the fund we want, It will therefore be advisable to maintain the same image size and provide it with good quality.
Button color
To change the color of the button “Sign in” or any other that the user receives, in the "C:\inetpubwwwrootCitrixStoreWebreceivercssctxs.large-ui.min_77F67A01D0A24AF1.css" we will replace the #02a1c1 with our corporate color.
Text colors
If we want to change the 'Username/Password' text, In the same file we will replace the line '.plain{margin-left:0;colour: #9a9a9a;font-size:17Px;font-weight:300;line-height:44Px}.credentialform' by the font and color we want.
To change the color of the active font in text fields, We'll change in '.credentialform input[type=password]:Focus{colour:black}.credentialform' the color we are interested in, replacing the 'black'.
To change the color of the inactive letter in text fields, we'll change in '.pseudo-input{box-sizing:border-box;width:385Px;height:44Px;outline:0;Border:0;background-color:white;font-size:16Px;colour:#666}.credentialform' changing the '#666' to the color we want (it will usually be a shade darker than the previous one).
Changing the Logo Size,
We already know that the logos will be entered from the Studio console, Below you have the image to customize 'Web Receiver'. But, to change the size of the initial Logo and put a larger logo than the Citrix StoreFront console leaves us, we will modify in 'C:\inetpubwwwrootCitrixStoreWebcustom' the 'style.css' file changing the sizes we are interested in, in addition to putting the necessary images with that resolution in this same path. We replaced the sizes in the CSS:
.logo-container{
background-image: URL('Citrix_HalfHeaderLogo.png');
background-size: 170px 40px;
}
.is-hdpi .logon-logo-container{
background-image: URL('logo-tun-350-120.png');
background-size: 175px 60px;
}
Horizontal Trace
To change the color of the gray trace that has transparency and that covers the screen from left to right, we will modify in "C:\inetpubwwwrootCitrixStoreWebreceivercssctxs.large-ui.min_77F67A01D0A24AF1.css" the code with our color and the % transparency in: 'background-color:rgba(63,54,67,0.8);text-align:Center}.web-screen'.
Customizing from the console
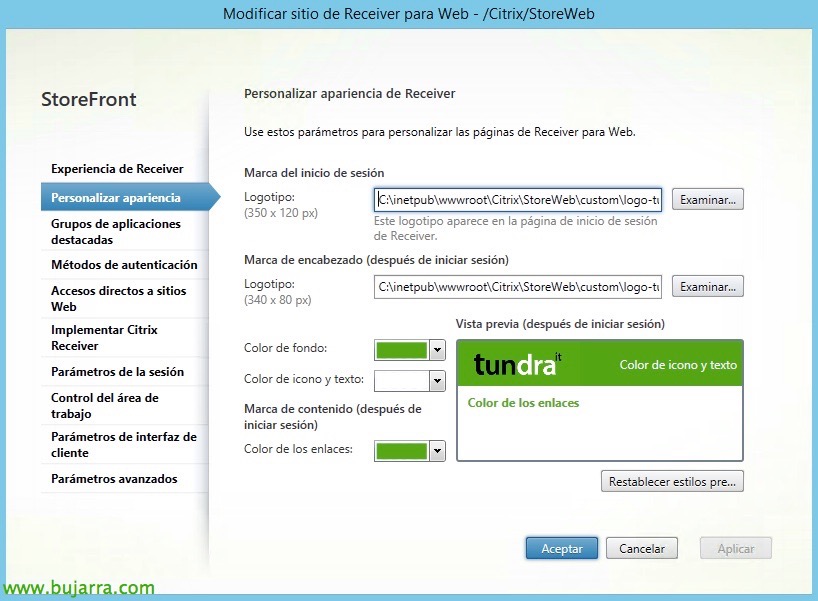
We already know this, that from the StoreFront console, on our website we may change the theme of the portal to one that identifies us more, since “Customize appearance” We may change the logos, the one before logging in, the one once the session is started, Background Color, The color of the texts, The color of the links…
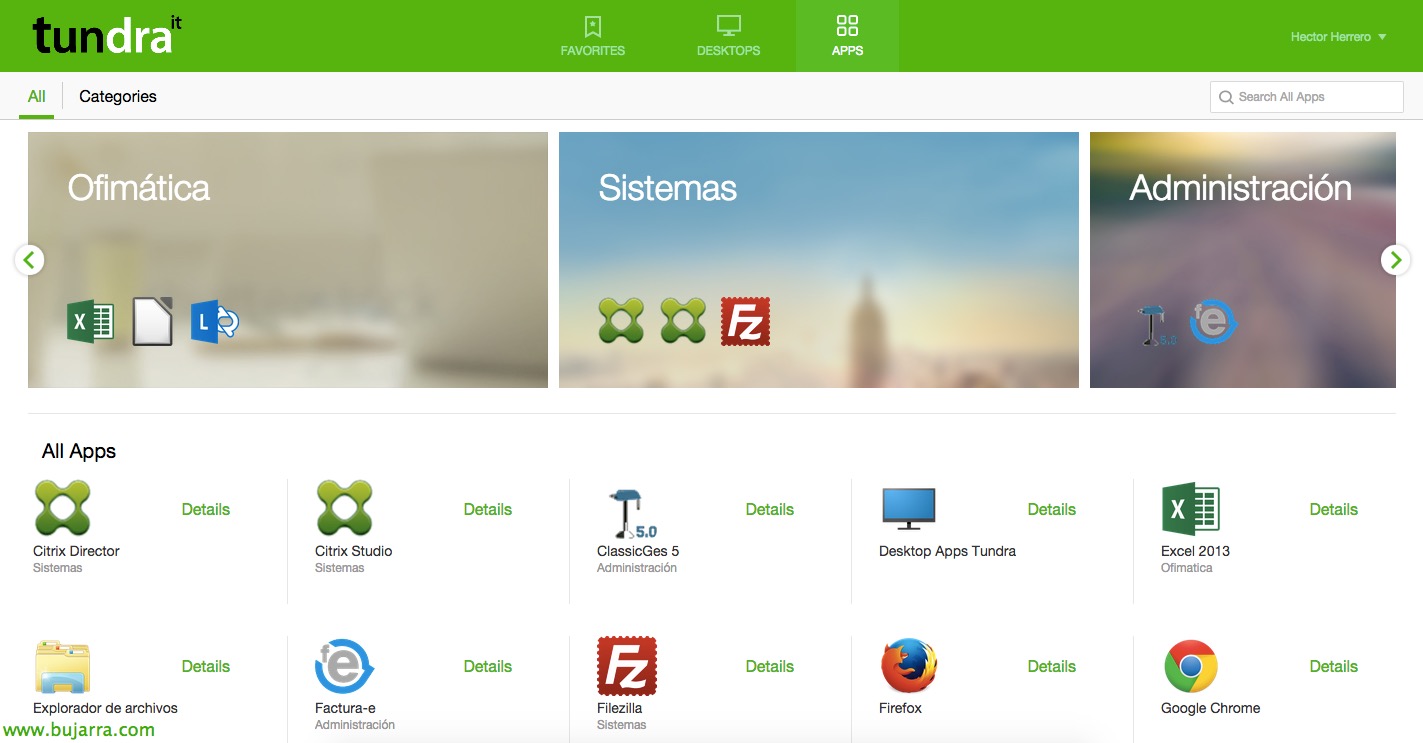
And this would be what our new application portal would look like!!! Of course, that you surely have more taste than I do 😉