
ThinApp Factory

From VMware LABs, we will be able to download ThinApp Factory to automate the process of creating ThinApp packages in our environment. ThinApp Factory is nothing more than a Debian virtual appliance that can be deployed on vSphere 4.1 (or higher) which has a Tomcat-based web interface. We will be able to upload installers and then automatically transform them from different MV templates and directly generate the necessary ThinApp packages, which we will then distribute to our users.
 vWe download ThinApp Factory from the LABs de VMware, We download the virtual appliance directly, we unzip it and upload it to our current infrastructure as usual. We could also download it in .exe that by means of an assistant would import it into our infrastructure according to the indicated parameters.

In the part of 'Properties’ We will have to customize the options of this vapp, we must first indicate the network parameters in 'Networking': a static IP address, Gateway, DNS domain lookup, DNS servers, Hostname for the vApp, your netmask and DNS domain. If you have a Proxy, we will configure the settings for FTP access, HTTP, HTTPS or exclusions. In 'vCenter Configuration’ we will indicate the server that is the vCenter, whether we will need to use the proxy to access it, Admin User & password for access, Datacenter name, Cluster Name, Resource pool name (if available) and name of the datastore to be used by ThinApp Factory. Finally in 'ThinApp Configuration', we will enter the serial number of our ThinApp to be able to use it, the name of the person who has it licensed and if we are upgrading the appliance we would enter the password.

Once we have the app up, We check that all of the above is correctly configured, we can access all resources correctly by DNS name and all parameters are correctly entered, otherwise, when configuring it via the web, We will receive errors 404 or 500 with access errors.

GOOD, browser-access to the VMware ThinApp Factory appliance, The default user is 'Admin’ No password (so we should change it once logged in!),

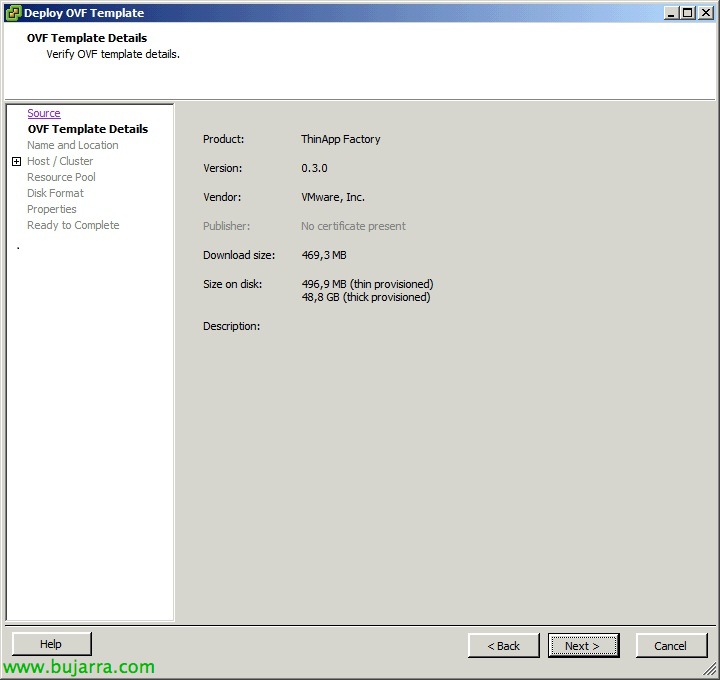
First of all, will be to accept the license agreement,

And this would be the control panel, where we will see the transformation scheme of our installers, Your sources, the S.O. templates and the Store where we will have already compiled and published the apps already in ThinApp format.

The first thing will be to add the operating systems where we will generate the ThinApp packages, in “Settings” > “Workpool” > “Add”. We will need to have a Windows XP or a Windows in our virtual infrastructure 7 (Updated & Clean, with VMware Tools) or else, We install one now.

In this case we will create a Workpool with a Windows XP Professional that we will install from an ISO that we have in a datastore, We customize the data needed for an unattended facility. “Save”. We will also indicate the maximum number of instances that we can have simultaneously, to create as many VC's as needed based on this same VM.

And we'll have to wait while the S.O. it is installed and the machine is ready!

Once we have the workpools ready, in “File Shares” We can add if we want a shared folder where we will locate if we are interested in the installers, Dependently, we can always use internal storage.

In this case, In this path I have several installation binaries, that we can use as a warehouse, we can also upload them independently and then process them, We set up with the right data & Click on “Scan”

We will see all the packages that have detected us, We uncheck the check of those we want to inventory & “Save”,

We see that we already have a share in the summary, a subscribed application & A workpool.

If we click on the 'Installers' tab’ it will be where we have inventoried the installation binaries, we can directly upload an installer from “Upload Installer…”, or how we did with a share or even by subscribing to RSS Feed. To get started with converting an installer to a ThinApp package, Select the installer & Click on “Capture…”

In this case we will take a screenshot of the WinZip installation process 16.5, during the capture process, a VM of our workpool will be generated based on the main template, once the process is finished, it will go back to a previous snapshot where the OS. It's 'clean'. It can be an automatic or manual capture, the first will automate the process of creating clean VMs, assemble the installer and try to install the package unattended, After installation, it will check the modifications and package them; We will use manual capture when we want to do a custom installation of the Soft, yes indeed, In this case, we would need an IE browser with VMware ActiveX to connect to the console directly and be able to do it.

In this case it is a simple process where we have indicated that it should be with “Auto Capture”, We check that a task has been generated for us, Click on “View” to see the process.

In this case we can see how it is performing several transformations simultaneously (each in a different VC), or tasks that we have already completed.

Once the task is complete, we can edit the package either from “Edit Package” or from the “Projects” where we can customize any parameter as before,.

Once we have a converted application, we can publish it for our ThinApp Store, for this we selected it & Mark “Publish”,

If we enter the VMware ThinApp Store we will be able to see all the published applications and we will be able to test them directly, click on one of them, We download the executable…

When you run it, it will download the application…

“Close”,

And we'd already have a ThinApp' app installed’ In this team, we will be able to run it as we have done so far and that's it!!!


