VMware Horizon Workspace – Part 1 – Installation and configuration

Horizon Workspace 1.0 is VMware's centralization suite with which we can give secure access to our users, whether external or internal, to our corporate applications (centralize and control Windows software with ThinApp), as well as SaaS applications (Web), file synchronization or access to the View virtual desktop platform.
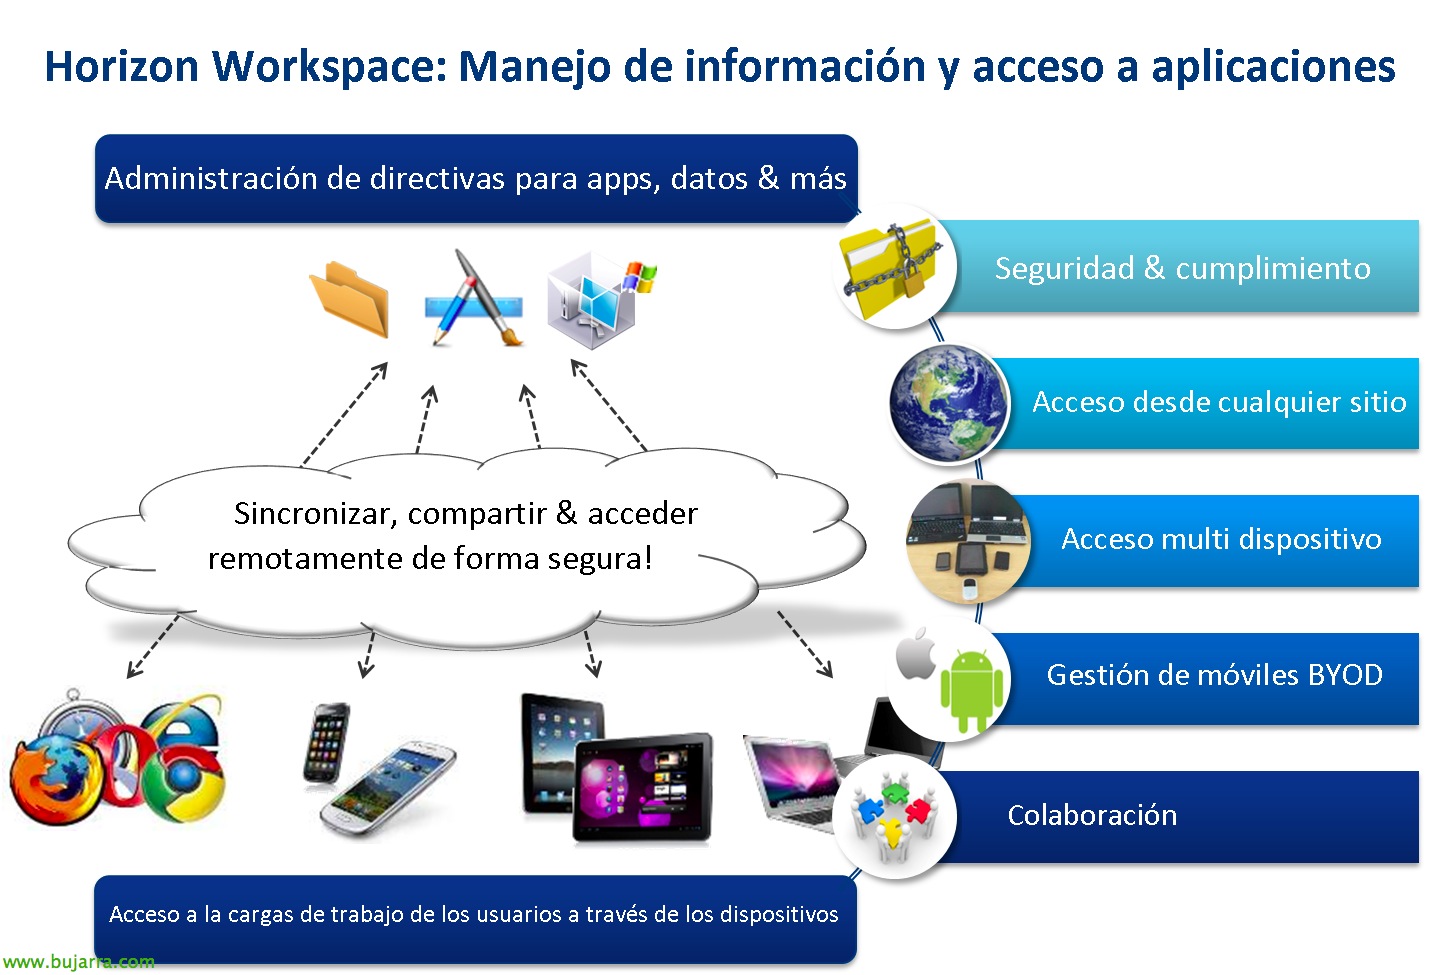
This would be the presentation of what VMware Horizon Workspace will provide us with; we can from anywhere, with any device, through a browser connect to our infrastructure to run applications or share information, as well as collaborate or use Horizon Mobile to manage customer devices to give them more or less access.
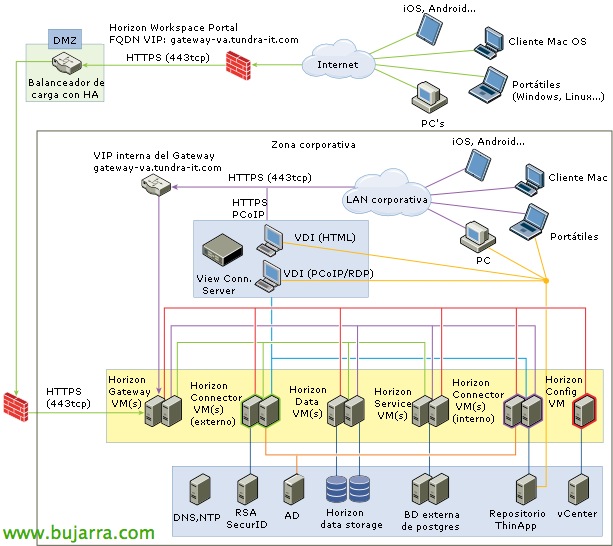
This would be a basic outline of the Horizon Workspace architecture, where we will see that all the connectivity (external or internal) It is encrypted using HTTPS, so any remote device will access it securely. This will be the laboratory that we will set up based on this document, where we can run ThinApp applications, View desks from the outside, or share a series of files among our users.
Summary of the deployment we will use:
– configurator-va.tundra-it.com – 192.168.169.217
– service-va.tundra-it.com – 192.168.169.218
– connector-va.tundra-it.com – 192.168.169.219
– data-va.tundra-it.com – 192.168.169.220
– gateway-va.tundra-it.com – 192.168.169.221 (in addition, the 443tcp will be scanned from the FW for remote access).
– View Connection (Standard) – 192.168.169.222
– View Connection (Security) – 192.168.169.223 (I couldn't emulate DMZ in this LAB)
– vCenter – 192.168.169.23
– A DNS server and a DC – 192.168.169.204
– Mail Server: Buj-12-XCH-01.tundra-it.com
– A VM Pool with VMware View 5.2 Feature Pack 1 installed (to give remote access to users with only a browser that supports HTML5 and Unity Touch than when we connect with a mobile device such as iPad, it will adapt the desktops to a more pleasant/comfortable interface).
– A share of repositiorio for ThinApp applications: \Buj-hor-08-05Captures
Before we begin, we must:
– Create the necessary IP Pools in our Datacenter (IP range, mask and P.E.) & Associate them with virtual networks. As well as specifying DNS data such as DNS servers, DNS suffix…
– Register type A and PTR entries on our DNS server (Reverse resolution) of all appliances, as well as confirm that we have the vCenter server and ESXi hosts properly registered as well.
Horizon Workspace Components
– Horizon Data: It will be the appliance where the users' files will reside for synchronization.
– Horizon Configurator: It will be the appliance where we will configure and reside the Horizon Workspace configuration.
– Horizon Service: It would be the part we could have in the cloud, we would have both the user portal and the administration portal (where we would assign applications to users). Users will see the applications that we have provided for them automatically and they will also be able to manually assign the same applications that we have made available to them.
– Horizon Connector: This will be in charge of contacting the Active Directory and the repository of the ThinApp binaries.
– Horizon Gateway: It will be the appliance that will serve the public portal to users.
Download VMware Horizon Workspace 1.0 from the web My VMware.

We'll import to the Horizon Workspace virtual appliance in OVF format, which will be a set of virtual machines (that is, a vApp), Consisting of five virtual machines,

As we have mentioned before, Each virtual machine will have to be connected to a virtual network,

We must assign the corresponding IP address to each appliance,

Confirm:
– That we will set a password for the 'root' user’ of all the MV's.
– That we have an IP or name of a vCenter and we know the administrative credentials.
– That we have a mail server for sending emails.
– And that we know the name we'll set for the Horizon Workspace portal.
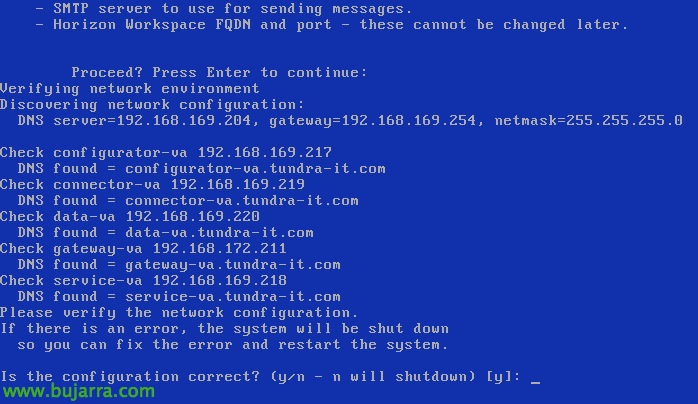
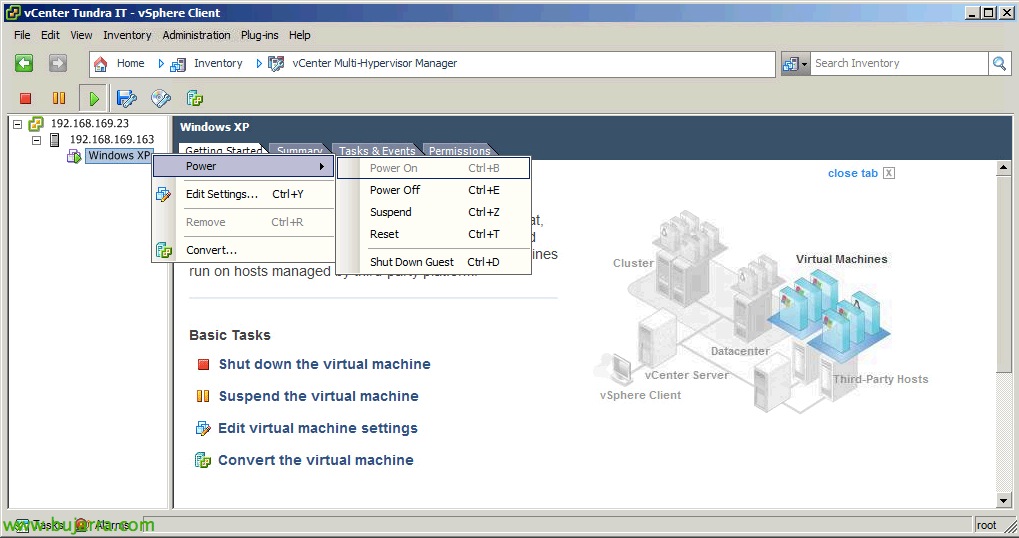
We press 'and’ to get started with the deployment wizard if the above information is correct,

And we will enter the data that you have previously requested. (Password for root, SMTP server and its port, the name of the portal and its port, vCenter server and its credentials). We will wait while it unfolds, Turn on and configure the 5 VM's…
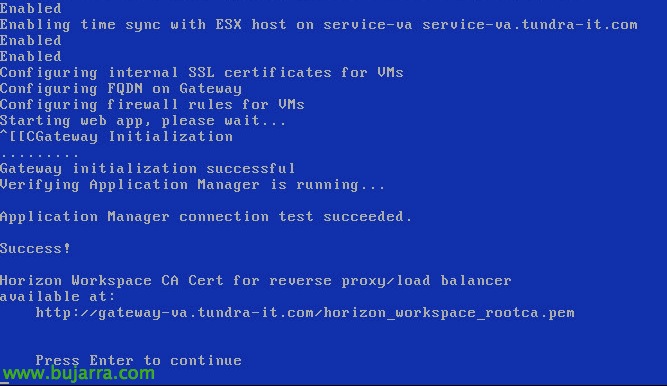
And after a while we will have everything ready to start configuring!
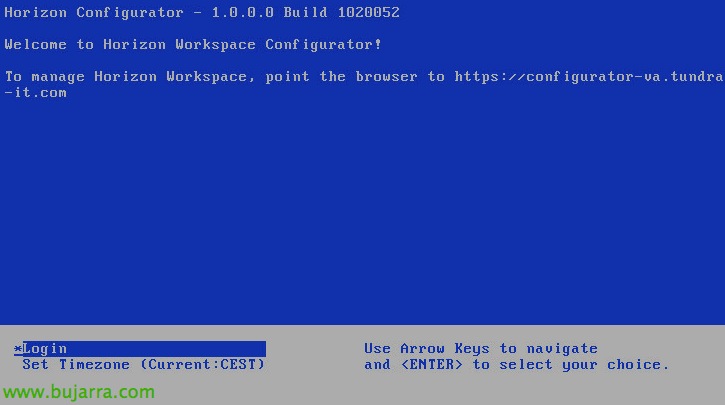
List! We will have to open a browser against https://configurator-va
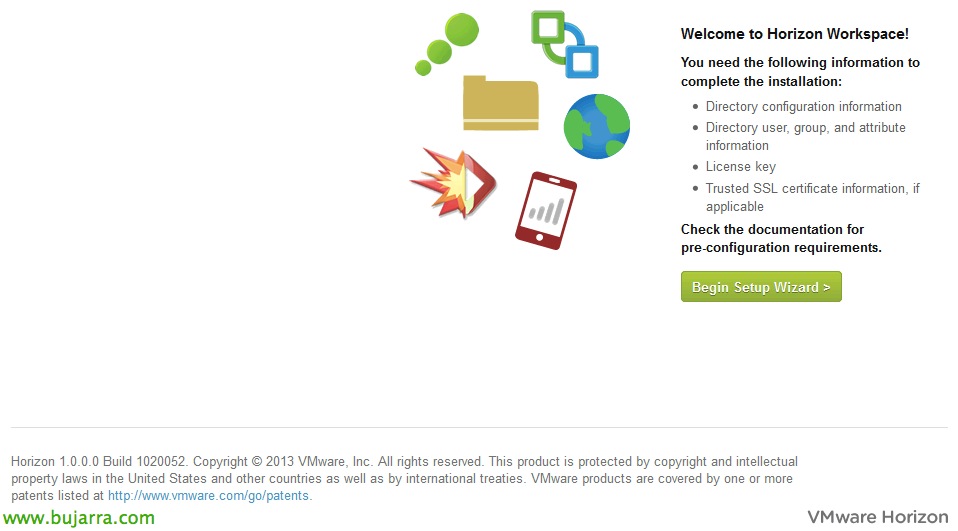
We'll continue with the wizard to finish installing Workspace Control, “Begin Setup Wizard”

In the step 1, Enter the product key and set the password for the 'admin' account’ of the Workspace Control portal, “Next”,
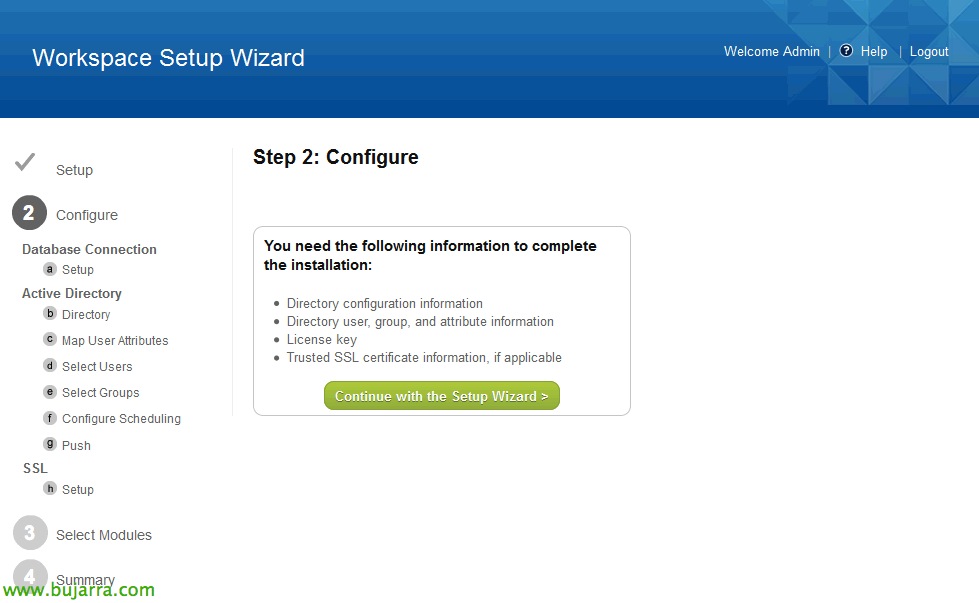
In the step 2 We will configure the connection to the database, connection to an Active Directory and we will configure the SSL certificates, “Continue with the Setup Wizard”,

In the 2nd we will indicate whether it is an internal or external DB, the internal one will be for laboratory use and recommended to use an external PostgresSQL database for production 9.1
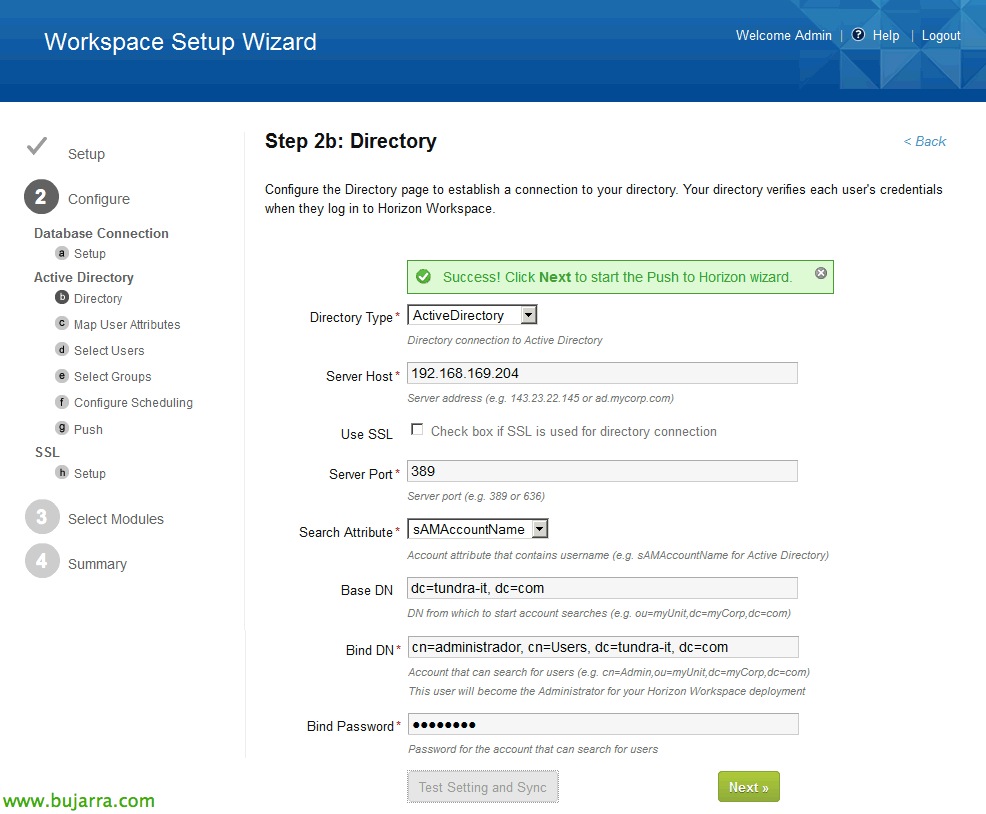
So that users can authenticate with their domain accounts, set up a connection against our DA, we will mark on 'Directory Type': 'Active Directory', we will indicate a DC, whether we will use SSL for LDAP or not, search for the user's attribute in 'sAMAccountName', we will also indicate the 'DN Base’ to the path from where we want the user search to start, also in 'Bind DN’ we will be able to account for a user who can search for users in our LDAP. “Next”,

In 2c we will map the attributes of the users, we will have to take into account that they must have these fields filled in the D.A, by default they will be the correct ones. We will also score “Required” in 'userPrincipalName’ so that you don't have problems when subsequently enabling the View module, “Next”,
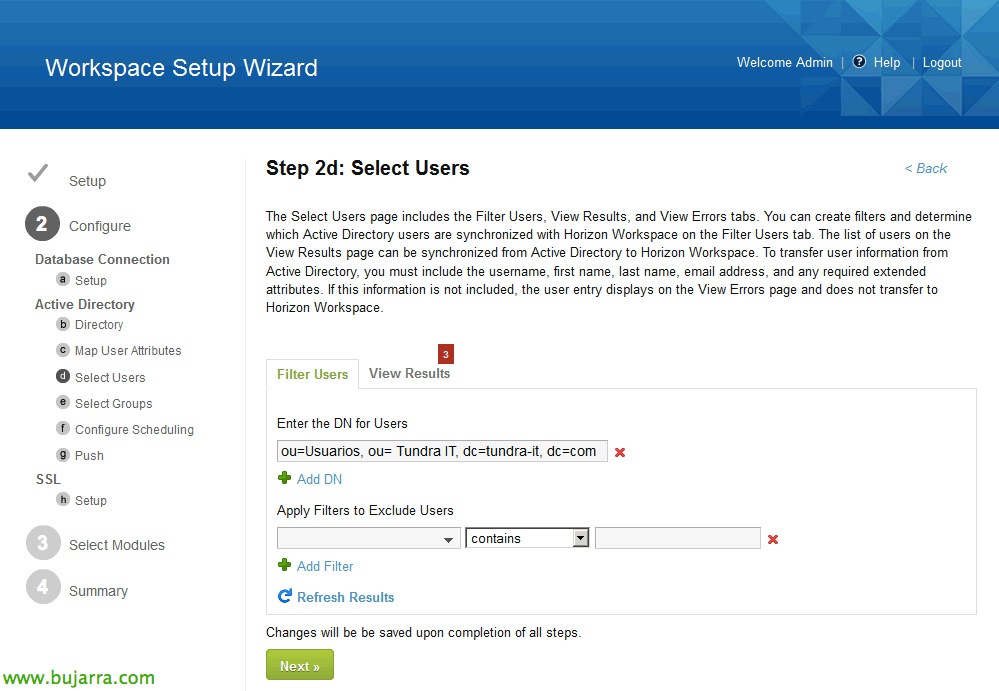
Enter the DN path for user search, We filter and add the routes that interest us, “Next”,

We will also include the DN routes where we have the groups created in our DA, “Next”,

We configure the synchronization schedule with these parameters to Active Directory,
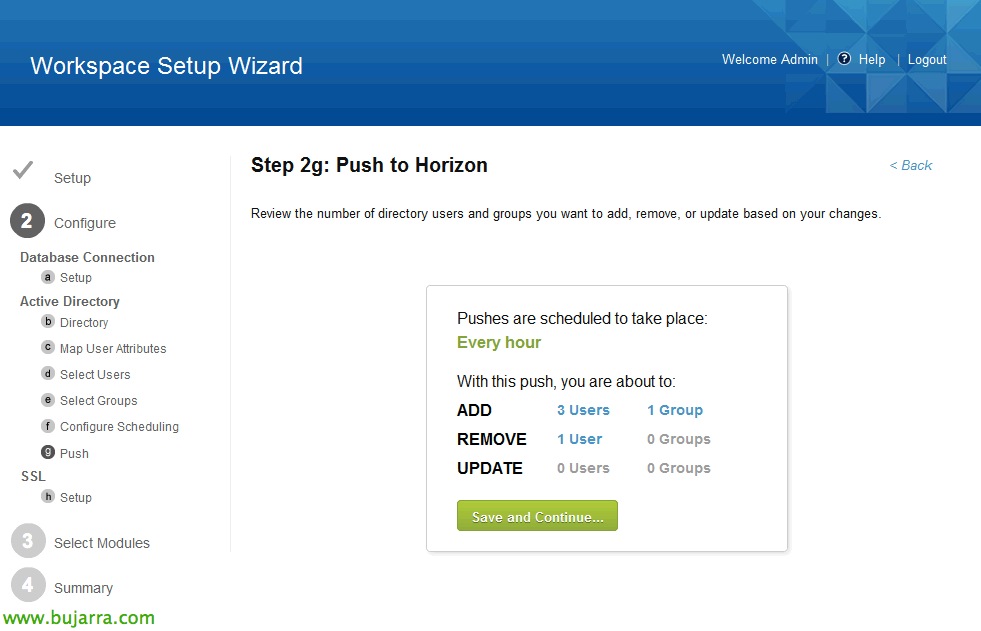
And we confirm that we're going to import into Horizon is correct, we will add users & Groups indicated above, “Save and Continue…”

… We wait while the sync finishes…
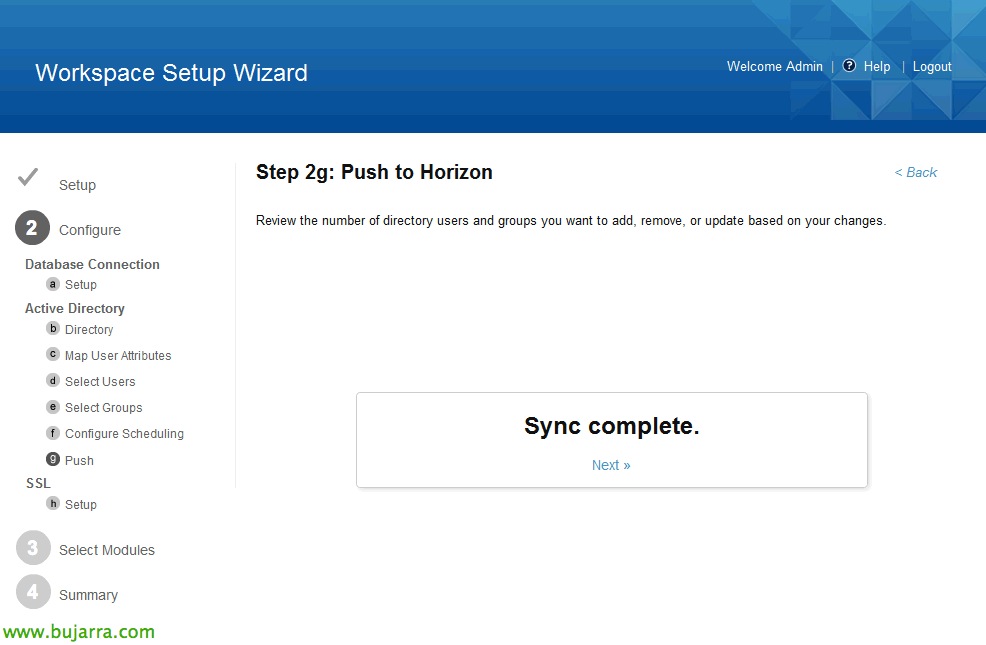
“Next”
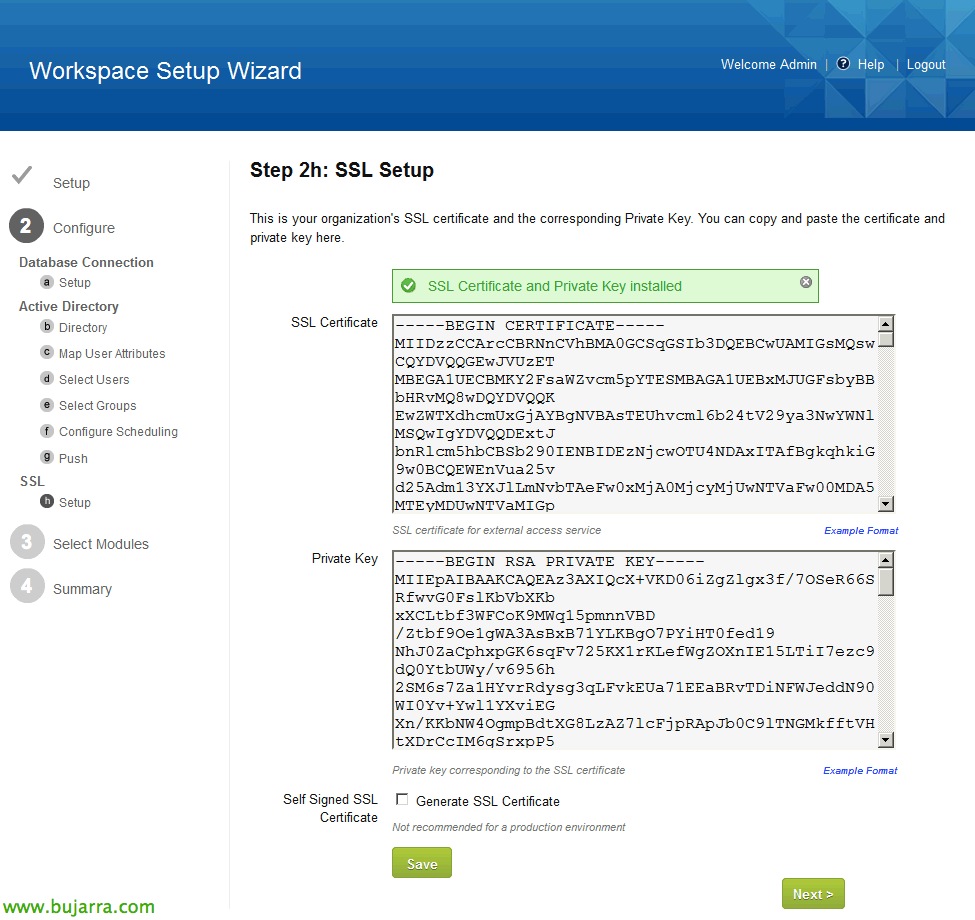
We will paste here the certificate generated for our portal and the private key, Click on “Save” & “Next”, Optionally we could use a self-signed one,
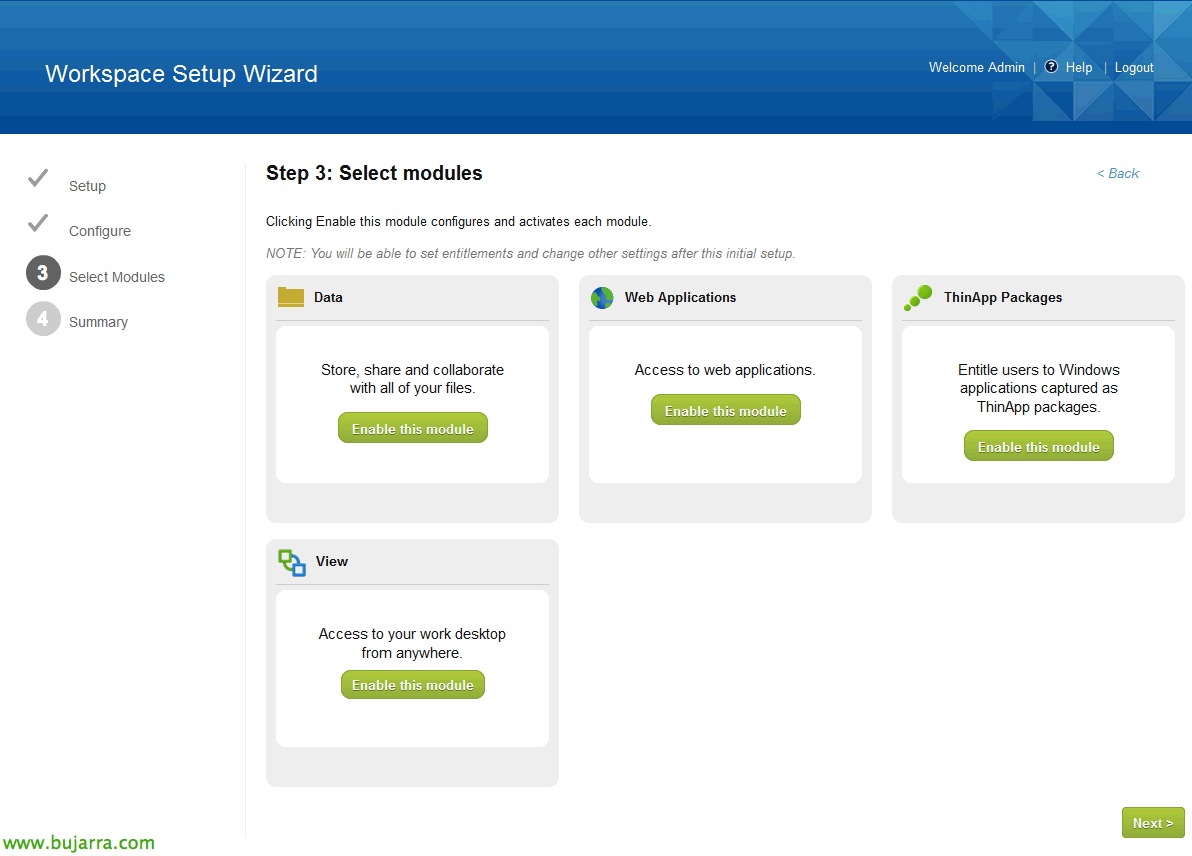
In the step 3 we will select the modules that we will add to the Workspace for users, we will enable 'Data’ for file synchronization, 'Web Applications’ for SaaS applications, 'ThinApp Packages’ for the deployment of streaming and 'View applications'’ for virtual desktop publishing (we will leave this one for later), “Next”,

We confirm in the last step of the wizard the enabled modules, as indicated there, later from the Configurator appliance we can enable more or perform another series of configurations. We will continue in a second document the completion of the configuration and we will see the access from the clients!