Installing VMware ESX Server 3.5

This document will show the installation of an ESX server version 3.5, Designed solely and exclusively for system virtualization.
Wikipedia definition: This version is a complex virtualization system, it runs as an operating system dedicated to the management and administration of virtual machines since it does not need a host operating system on which it is necessary to install it. Designed for server centralization and virtualization. Application –> OS (virtual) –> Hardware (virtual) –> VMware ESX –> Physical Hardware. ESX is based on Linux as the base operating system, which provides great stability, more specifically a RedHat. It also includes a set of utilities that act as an access layer to all the hardware provided by virtualization. Use your own file system, VMFS in which the virtual disks of each virtual machine are stored and can be shared between several ESX servers. The requirements for installing VMware ESX are quite high since they are designed for servers. Like this, We must have a multiprocessor machine, Lots of RAM, at least two network cards and SCSI controller, RAID or FC mainly. According to VMware Inc. ESX is not based on Linux as it has its own kernel called VMKernel.

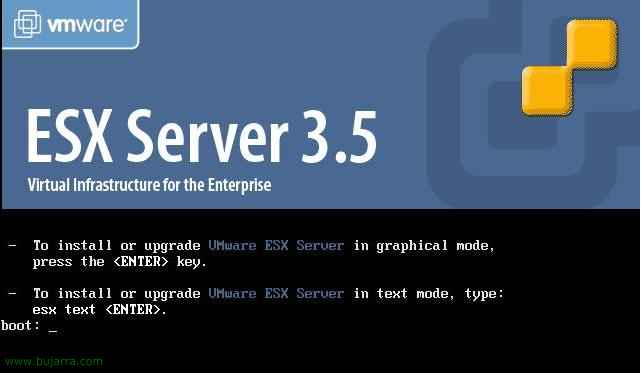
Well, the first thing to do is to put the CD on the server in question, we cannot install ESX on any server, far from it, there is an exclusive list of servers on which ESX is 100% compatible: http://www.vmware.com/pdf/vi3_systems_guide.pdf. To install an ESX server you don't have to have a lot of knowledge, It's a simple thing, in the boot menu press the ENTER key for a graphical installation.

If it is the first server, it is advisable to test the CD in case we may have problems during the installation and there are any corrupted files, We give “Test” or “Skip”, whatever interests us.

“Next” to begin the VMware ESX Server Installation Wizard 3.5,

Select the language of our keyboard, and we continue, “Next”,

Select the mouse that we have connected (if we have any), “Next”,

We confirm that we can erase all information from our disks, so we indicate “Yes”,

We have to accept the final license agreement from “I accept the terms of the license agreement” & “Next”,

The type of partitioning, normally it should be the recommended, Without touching anything, We have to be very careful with which disk/disks will format us, since if we have an external disk array connected (SAINT, NAS, iSCSI…) it may detect it from here and we will load its data or the boot sector, which would not be very funny, So we check that it's our album and “Next”,

Check that it is the disk we want to delete and “Yes” so that it generates the ideal partitions for us.

We review how the partitioned disk would look, “Next”,

Normally, We wouldn't have to change the boot, So “Next”,

GOOD, We need to set up at least one network adapter, which will be used initially by the ESX server to connect to the outside world, later, during the configuration of the ESX or VirtualCenter we will configure the virtual switches. We have to assign it a fixed IP address, with the right netmask, A gateway (very important if we will use HA or VMotion), and we will assign you your hostname, which should be followed by a domain name, So we indicate its full name. If we are interested in generating VLANes, we indicate the ID. And in principle I will uncheck the check of “Create a default network for virtual machines” since I'll set this up later, If I have another physical adapter, I will assign it to the virtual machines. “Next”,

We select the time zone of this host, “Next”,

Enter a root password for the Service Console, “Next”,

We check that everything is correct and we can press “Next” to install ESX 3.5,

… we wait a few minutes while installing VMware ESX 3.5…

GOOD! it tells us its URL so that we can download the administration software. Click on “Finish” to restart the machine/host.

Once the server has restarted, from an MS Windows computer, we must connect to this URL to download the software that will allow us to manage it, called “VMware Infrastructure Client”, We accept certificate verification…

“Accept”,

And from here we can download the Virtual Infrastructure Client from “Download VMware Infrastructure Client”. From now on each one will have different configurations, since if you want to first create your virtual infrastructure by installing the server “VMware VirtualCenter”.
Installing VMware VirtualCenter 2.5 – HERE
Installing the VMware Infrastructure Client 2.5 – HERE
www.bujarra.com – Héctor Herrero – Nh*****@*****ra.com – v 1.0