Upgrading a vDisk in Citrix Provisioning

One of the most common tasks in Citrix Provisioning Services is updating desktop or server images that we deliver to users, either to patch them, Add Apps, etc… In this document, we'll look at how to work with versioning and create a new vDisk update.

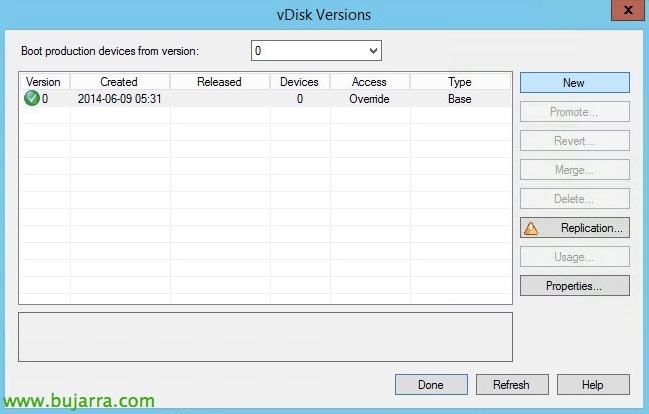
When we have a base vDisk (o Version 0), we would have a .vhd file in the Warehouse (the vDisk), .pvp (vDisk properties) and a .lok file to block if in use. GOOD, to update the vDisk and apply some changes we will have to create a new version, for this, on the right-click vDisk > “Versions…”
“New”,
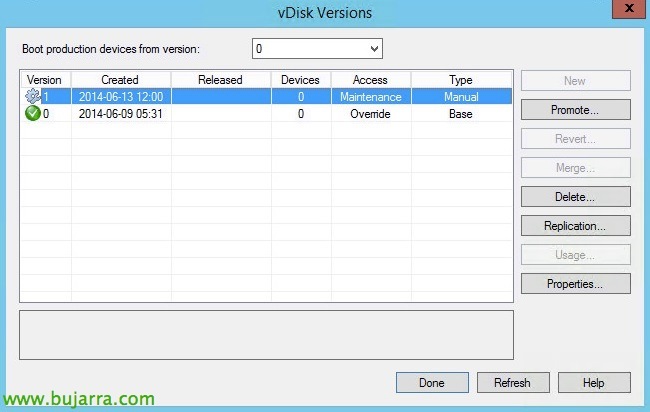
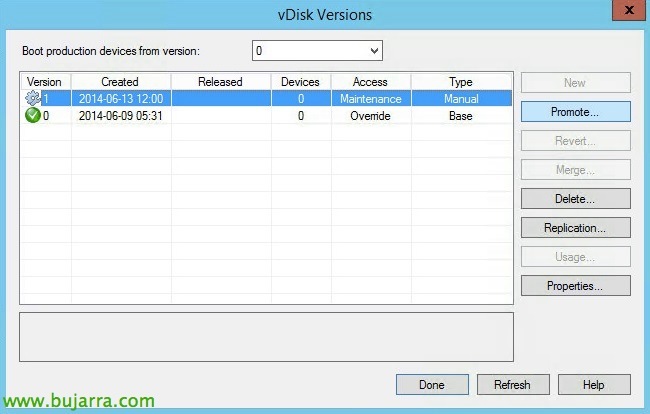
And he will have already created a new version for us (1) which will put it in Maintenance mode, and only the Target that is of the maintenance type will be able to boot said version in write mode and apply the changes we consider.

So we take the Target that we will use to apply the changes and in its properties we must indicate that it is of type “Maintenance”.
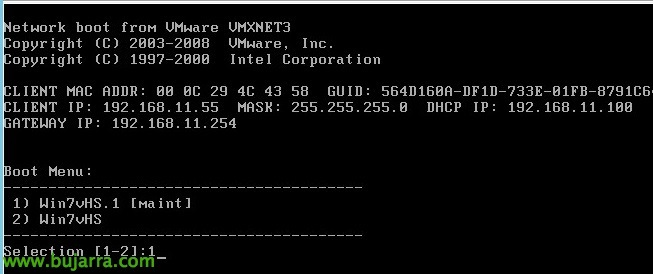
We start this team, During the boot we will see an informative menu to select which mode to boot. Select “1” to enter maintenance mode (Writing Mode) and make all the changes we need to the vDisk, whether operating system updates, Applications, etc… If we select “2” We started the machine in read-only mode and we wouldn't do anything 🙂
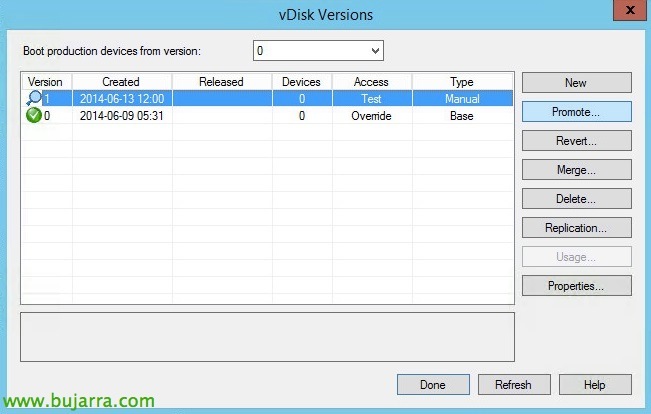
Once all the changes have been applied to the vDisk, we must promote it to Test mode to test and validate it beforehand; or promote it to Production mode and put it directly to all users! So on the versioning of the vDisk we must select “Promote…”

And optionally we can put it in Test mode to check that the machine will not have problems before putting it into production. “Test” & “OK”.

We select a Target again and set it this time to Test mode and boot the system in read only and validate everything.

We start the computer and select the option “1”,
Once we have validated that the image is correct and we want to publish it to the rest of the users, this new version, we must finalize and promote it to production. “Promote”,
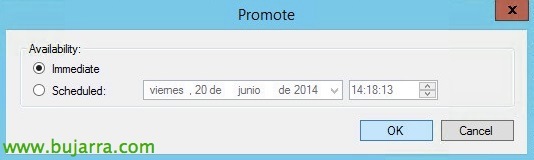
We will indicate when we will make it accessible to the teams that request it.
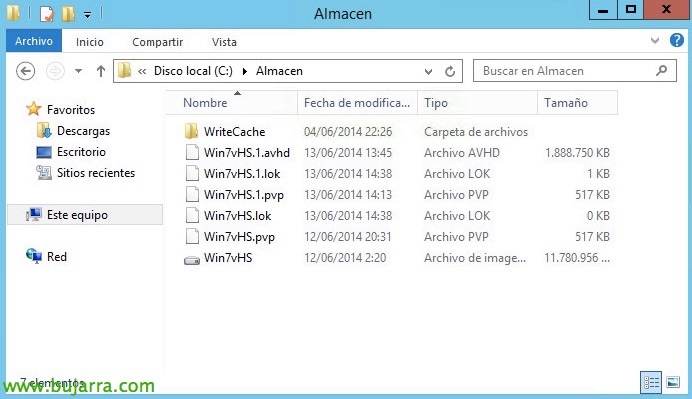
We will be able to check in the store that it has created new .1.avhd and *.1.pvp files, These are the Delta files where all the changes of each version will be stored.
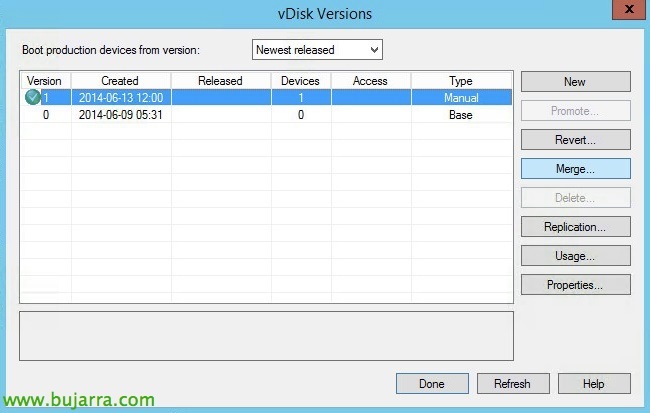
In case we do not want to go back to a previous version and we want to optimize the image, We will have to merge all the files, To do this, click on “Merge…”

Select “Merged Updates” to unify updates from the ground up or “Merged Base” to also include the basis for updates.
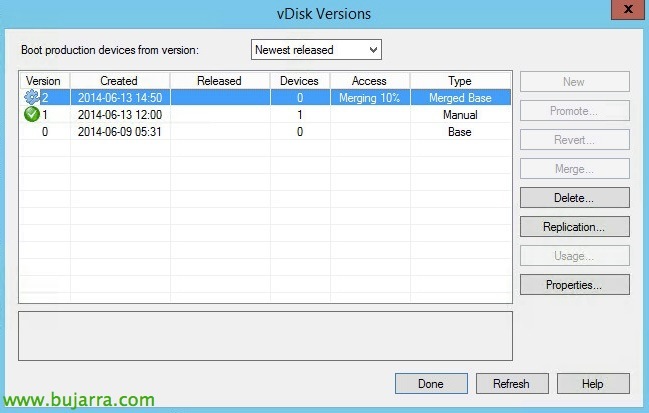
We wait while you unify the disks, The time will obviously depend on the modified volume.
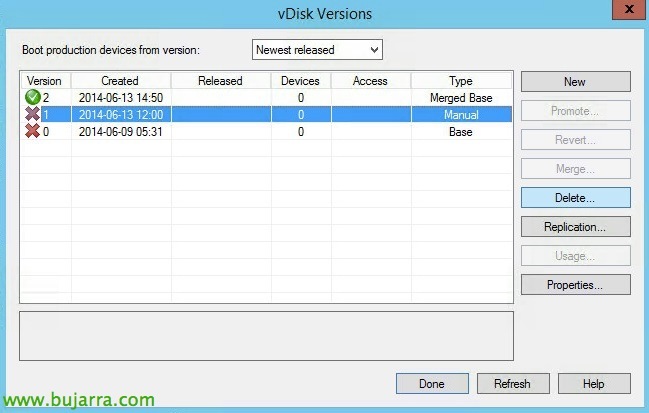
Once we have the vDisk with the updated version and compacted into a single .vhd, we can if we want to delete the previous versions.
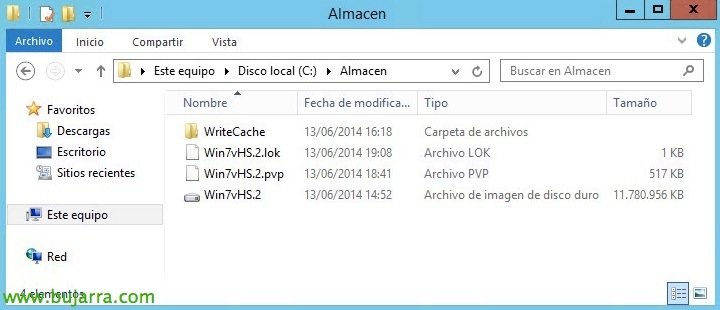
And we confirm that at the file level we only have the corresponding files!!!