Installing and configuring WiKID to access the Citrix Web Interface with a token (Software!)
Complete document this, we will see the installation and configuration of WiKID for two-factor authentication with a software token instead of traditional hardware ones (SoftToken) against a Web Interface 5.3 from Citrix. To do this,, first we will install and configure WiKID that through an LDAP connection will connect to our Active Directory and authenticate the tokens in the Web Interface with RADIUS, assign/configure the token against a user in our domain and open a Citrix session. WiKID is a paid product but has a very low price, Logically, we can use this document to configure other services by tokenizing.
WiKID Installation and Configuration,
Let's go to the Official Website, we register and download WiKID Enterprise Server, we will be able to download it in VMware virtual appliance, or in an ISO to perform a clean installation or we can directly install it in an installation we have of a Linux using rpms.
In this case I will perform a new installation, The machine doesn't have to be very powerful (1 CPU, 512Mb RAM, 2Gb HD, 1 NIC…), we insert the installation CD and start the machine, To perform a new installation we type 'install'.
It will install a CentOS distribution 5.1, it will tell us that it will delete the contents of the hard drive, Confirm “Yes”,
and continue the installation process as normal…
We set the time zone…
Well, After finally authenticating as root we must run “Wikidctl setup”, to configure the network.
“and” to configure the network,
“and” to start configuring network settings,
Enter the name of the team, the IP address for the eth0 network (or whatever we have), The Netmask, Gateway, DNS servers… We confirm that it is correct with “and”,
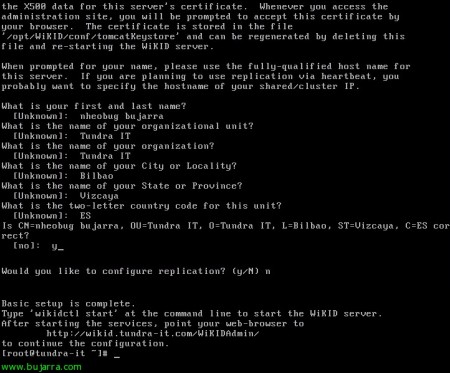
We completed the following questions for the equipment certificate, We won't set up a replication…
GOOD, important, to start the WiKID services we will have to write “wikidctl start”,
Now from any computer on the network we can manage the authentication server, previously in our DNS server we will have registered an entry “To” with the WiKID name against your IP 🙂
To enter the default user is: WiKIDAdmin and password: 2Factor, Click on “Log In”,
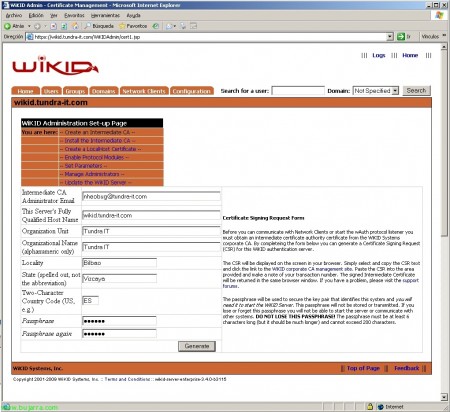
Let's go to the tab “Configuration” > “Create an Intermediate CA” to create an intermediate CA on this host, Requirement to continue.
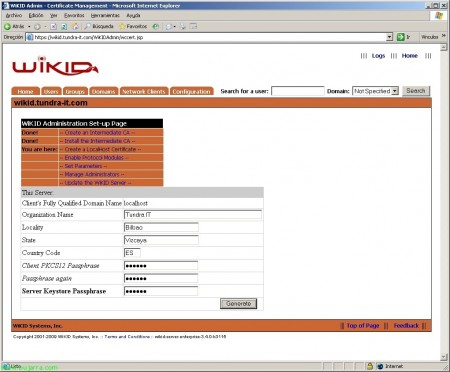
We fill in the information to generate a CSR for this server, Click on “Generate”,
We must indicate a Passphrase to the certificate that will be to secure the key pair, this key will be the one needed to start the WiKID services/daemons! So it's very important.
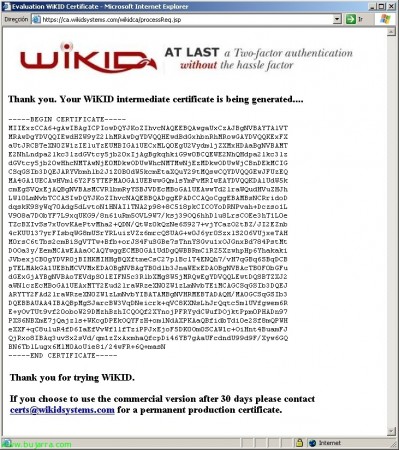
Once we have the CSR, We copy it. Click on the link above (HTTP://ca.wikidsystems.com/wikid/newcertreq.jsp)
We paste the CSR & “Submit for Processing”,
We copy the certificate that has just been generated for us… since —–BEGIN CERTIFICATE to END CERTIFICATE—–
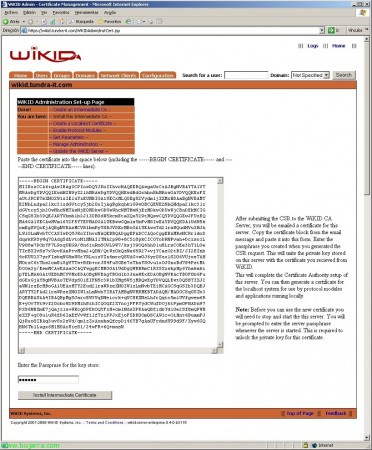
We paste the newly generated certificate, enter the Passphrase and click on “Install Intermediate Certificate”.
Ok, perfect, Now we need to generate a local certificate, Click on “Next: Create a localhost certificate”.
Let's create a localhost certificate to enable authoritative and secure connections with WiKID. We enter the data again, we will need a new key for this certificate and we will have to enter the Passphrase of the intermediate CA generated previously. “Generate”!
Perfect, We have to restart the WiKID daemons.
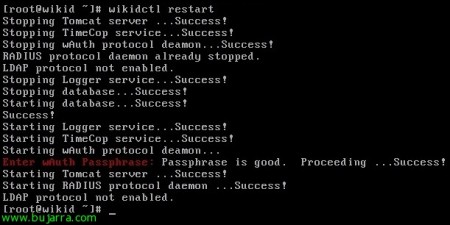
We open a shell and run “wikidctl restart”, it will ask us for the Passphrase…
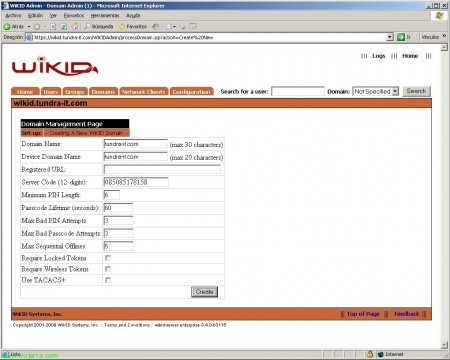
We go back to the web interface to configure it, We're going to “Domains” > “Create a New Domain”, to add the domain against which we will authenticate users.
Enter the domain name, How we want to see it in the options menu, the rest we leave by default. We will have to enter the 'Server Code'’ which will be the domain's public IP in the format of 12 characters filled with ‘0’ (e.g. for the 85.85.178.158: 085085178158). Click on “Create”,
Perfect.
Now we configure the protocols, We're going to “Configuration” > “Enable Protocol Modules”,
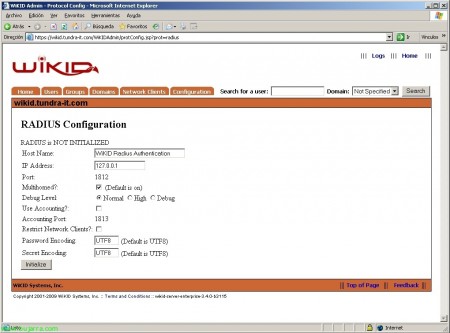
Click on “RADIUS” to configure and enable it,
In principle, the configuration it comes with is correct, So “Initialize”.
Ok,
Well, we restart the services, Again from a 'wikidctl restart' shell.
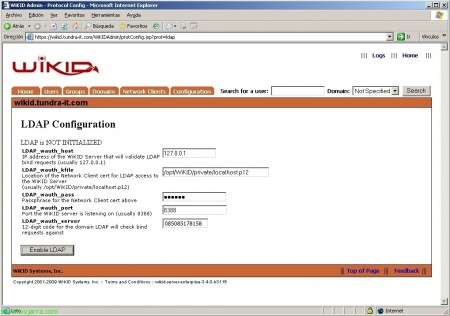
We now configure the LDAP connection, “Configuration” > “LDAP”,
Enter the LDAP_wauth_pass key for the network client and LDAP_wauth_server the 12 Domain digits. “Enable LDAP”,
GOOD.
We restart the services again to load the last configuration, 'wikidctl restart'.
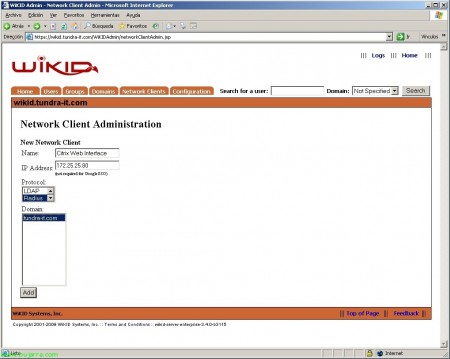
Well, now we will finally register a client that will be used to validate users through WiKID with tokens in a secure way. We're going to “Network Clients” > “Create a new network client”.
We give it a meaningful name that associates us with what it is, in my case it will be to validate a Web Interface, we provide your IP address, we indicate the Radius protocol and our domain, Click on “Add”,
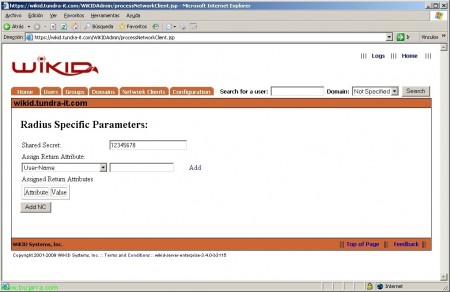
We created the 'Shared Secret'’ that we will have to take into account when configuring the Radius connection in the Web Interface. “Add NC”,
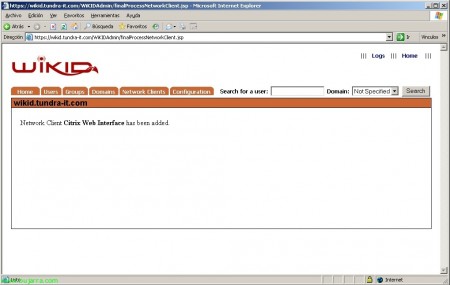
Ok,
Okay, now we'll tweak a couple of things to allow our users to add themselves via a URL and request validation via Token.
We edit on the authentication server with vi the file /opt/WiKID/tomcat/webapps/wikid/ADRegister.jsp
We complete the following parameters:
directoryDomainSuffix = FQDN domain
ldapURL = ldap://CONTROLADOR_DOMINIO_FQDN_DOMINIO:389
domainCode = Code 12 Domain digits.
wikidClientPass = the key of the previous certificate.
Perfect! we have already finished setting up WiKID!
Configuring Citrix Web Interface for Token Authentication,
In the Citrix Web Interface Management Console, on the XenApp website or XenApp services (where we want this authentication) Choose “Authentication Methods”
Mark “Explicit” and we are going to “Properties”,
Under 'Two-Factor Settings'’ we indicate 'RADIUS', Accept.
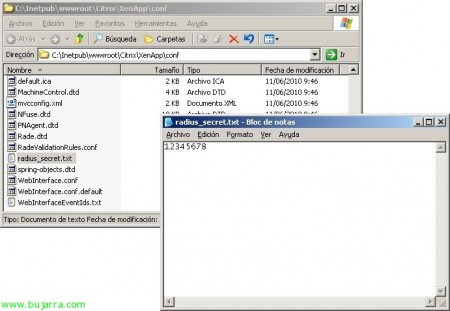
In the default site of the 'conf folder'’ from our website (default C:inetpubwwwrootCitrixXenAppconf) We create a file called 'radius_secret.txt’ and we introduce the secret that we have set up earlier in RADIUS as Shared Secret.
We check that on the default site of our website (default C:inetpubwwwrootCitrixXenApp) in the 'web.config file'’ We have the inputs set up:
RADIUS_SECRET_PATH to the file we have just set up.
RADIUS_NAS_IDENTIFIER a unique identifier that you identify with WiKID, for example your IP or your name.
RADIUS_NAS_IP_ADDRESS with WiKID IP.
With this everything ready, Now all that's left is to try it!
Installing WiKID Token,
This will be the installation of the SoftToken or Token by software (instead of traditional hardware) called WikidToken, we took it down from the Official Website by WiKID.
Installation is simple, We choose a language & “OK”,
“Next”,
“Next”,
“I accept the terms of this license agreement” & “Next”,
Default installation path '%ProgramFileswikidtoken’ & “Next”,
“Next” to begin installation,
… Wait a few seconds…
“Next”,
If we want shortcut icons… “Next”,
And at last “Donate”!
With this we will have the Token software installed, Nothing else.
We opened it for the first time,
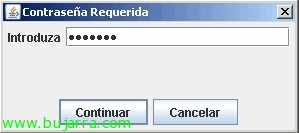
It will ask us for a password for security to open it later “Continue”,
“Actions” > “Create New Domain” to register our domain!
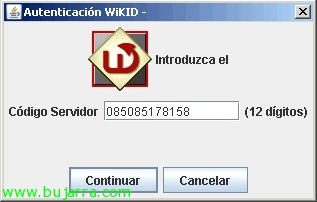
We introduce the 12 Digits of our domain & “Continue”,
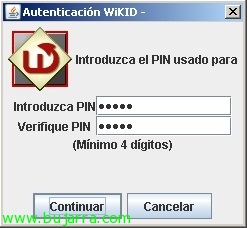
We enter a PIN code for this domain, “Continue”,
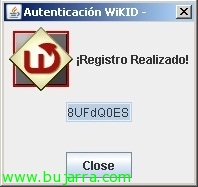
And it will give us a code.
We have to enter this code in WiKID with an active directory account, To do this, what you have to do is open a browser and go to “https://SERVIDOR_WiKID/wikid/ADRegister.jsp”, we enter our user's credentials to validate it against LDAP and assign that code. Click on “Authenticate”,
Enter the Token registration code & “Register”,
perfect! Guillermo Puertas will now be able to authenticate using Token because he is already registered, of course, we as administrators can also manually add user accounts in WiKID.
Using Token with Citrix Web Interface,
And finally there is nothing left to do but try it!
The usual process will be for the user to open “WiKID Token Client”,
Enter the password you have entered to open the wikidtoken & “Continue”,
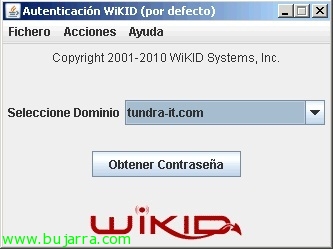
We choose the domain we want & “Get Password”,
Enter the PIN that we have associated with the domain & “Continue”,
And this will give us the code that when we want to enter the Web Interface we have to enter!
So what I said, Have 60 seconds to validate ourselves with that code, Let's go to the Citrix website, We enter our username, contraseña, (domain), and the PASSCODE, Click on “Sign in” And that's it.


