Using Offline Desktops in VMware View 4.6

Today we'll look at how to have VMware View desktops offline 4.6, for this we will need a VMware View server 4.6 Connection Server with the Transfer Server role. This server will simultaneously allow up to 20 Desktop Transfers (We can assemble another one for more capacity, High availability or balancing). With this we will be able to allow our users to work offline by downloading the desktops (by composer) on your laptop and when you are back online, upload that desktop back to the VMware View environment.

This machine that we will need must have an LSI Logic Parallel controller, so we will assign it before installing the OS if possible. It should not belong to a domain, it will need to have a fixed IP address and must be able to access the datastore where the primary Composer machine is located, as well as the ESX host where it runs; it must be managed by the same VMware vCenter. We can mount it under Windows 2003 SP2 St/Ent x86 (2Gb RAM) o Windows 2003 R2 SP2 St/Ent x86 (2Gb RAM) o Windows 2008 R2 St/Ent x64 (4Gb RAM). We will need it to have sufficient hard disk space to store the machines that we will make available offline.

Having said that, we can begin the installation of the Transfer Server from the VMware View Connection Server installer,

We accept the patent agreement, “Next”,

We accept the license agreement, “Next”,

Default path %ProgramFiles%VMwareVMware ViewServer, “Next”,

We select View Transfer Server, “Next”,

Ok, We enter the data for Apache, Network domain name, The name the server will have and admin's email, “Next”,

We must open ports 80tcp and 443tcp to allow external connections, “Next”,

List, Pressed “Install” to begin installation,

…

Ok, “Finish”, to configure it!

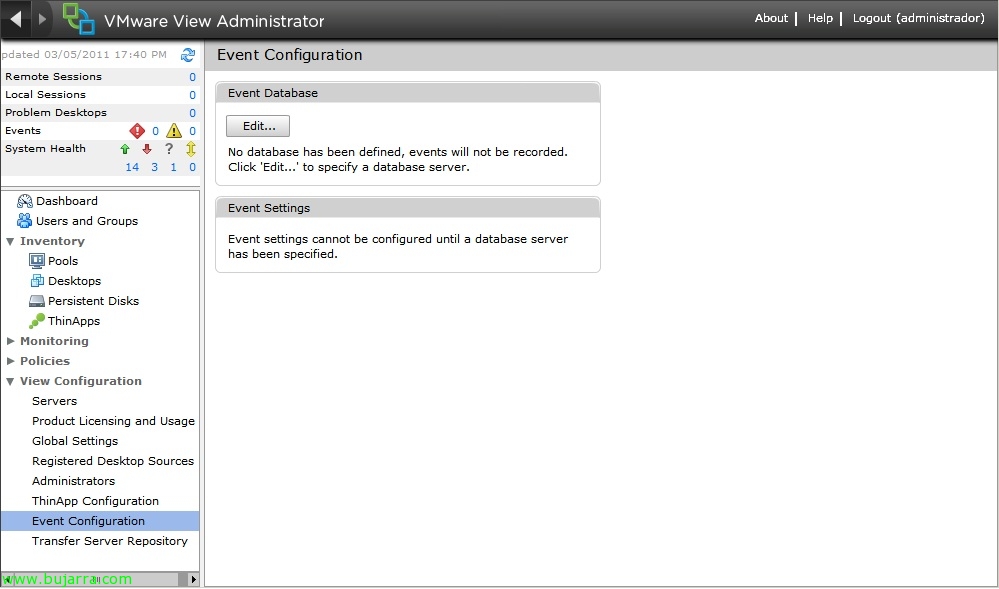
First of all, we will ensure connectivity so that our users can download their desktops securely, Since we can offer this service both within our network (The most normal thing) and from outside. So VMware View Administrator, let's “View Configuration” > “Servers” on each View Connection Server “Edit…”

On the “Local Mode” at least we must enable “Use secure tunnel connection for Local Mode operations”, “Use SSL for Local Mode operations” and “Use SSL when provisioning desktops in Local Mode”. “OK”,

Now we need to add the Transfer Server to the management console, “View Configuration” > “Servers” > “Transfer Servers” > “Add…”,

We select the VMware vCenter server that hosts the Transfer Server, “Next”,

We select the Transfer Server & “Finish”,

GOOD, Now we need to configure a repository where we will store the offline desktops on the Transfer Server, To do this, we first need to enable maintenance mode on the specified Transfer Server, we select it > “Enter Maintenance Mode…”

We assume that when entering maintenance mode, this server will not be able to provide offline desktops, “OK”

We're going to “View Configuration” > “Transfer Server Repository” > “Edit…”

Aquí indicaremos donde se almacenarán las imágenes de los escritorios sin conexión, podremos especificar una ruta UNC o una ruta local (que será de algún disco local en el Transfer Server). “OK”,

Una vez creada ya podremos salir del modo de mantenimiento en los servidores que hayamos configurado.

“OK”,

Ahora deberemos indicar las máquinas que queremos permitir que nuestros usuarios se descarguen para disponerlos fuera de conexión, “View Configuration” > “Transfer Server Repository” > “Publish…”,

Indicamos el escritorio virtual desplegado con Composer y le asignamos una descripción & “OK”. Con esto queda configurado VMware View 4.6 para desplegar escritorios sin conexión.

Ahora necesitaremos tener instalado el cliente sin conexión de VMware View 4.6 (VMware View Client with local mode). When we have it installed we will be able to have an offline desktop (as long as we have published/allowed it). We will be able to do this once we are logged into the desktop or before connecting from the option “Check Out Desktop”.

In case we have an active session in the virtual desktop we must confirm that we have saved our work “Yes”,

If it's the first time, it will ask us where we want to store this 'cache', by default in %UserProfile%AppDataLocalVMwareVDMLocal Desktops, “OK”,

When downloading the desktop we will check that it will only download the information used…

And once the machine is downloaded locally, it will inform us that we can log in locally to it. Once we have used it and worked with it, we can always re-upload the changes to synchronize with the desktop of our VDI with “Check In”. With “Rollback” we can go back to the version we had on the VDI and not save the changes made on the local desktop.. In case we want to continue working locally with our desktop but also want to create a backup of the desktop and synchronize it with the VDI, we will indicate “Request Backup”

The first time we enter, we will receive a message indicating that we are running the desktop locally and that since it is the first time, the system will detect new hardware and will need to be restarted afterwards..

…

After what was said, the team will already start in our team without connectivity,

When we have finished working with our desktop or when we arrive at the office and synchronize the data with the virtual desktop of the data center, we will see that only the modified information uploads.!