Installing Vembu BDR

I wanted to bring you a backup solution that may not be so well known but that surely meets the needs of the vast majority, we will see in this post how to install and deploy Vembu BDR, What is a Backup product & Disaster Recovery that will allow us to make backups and replicas of our virtual or physical platforms!
![]()
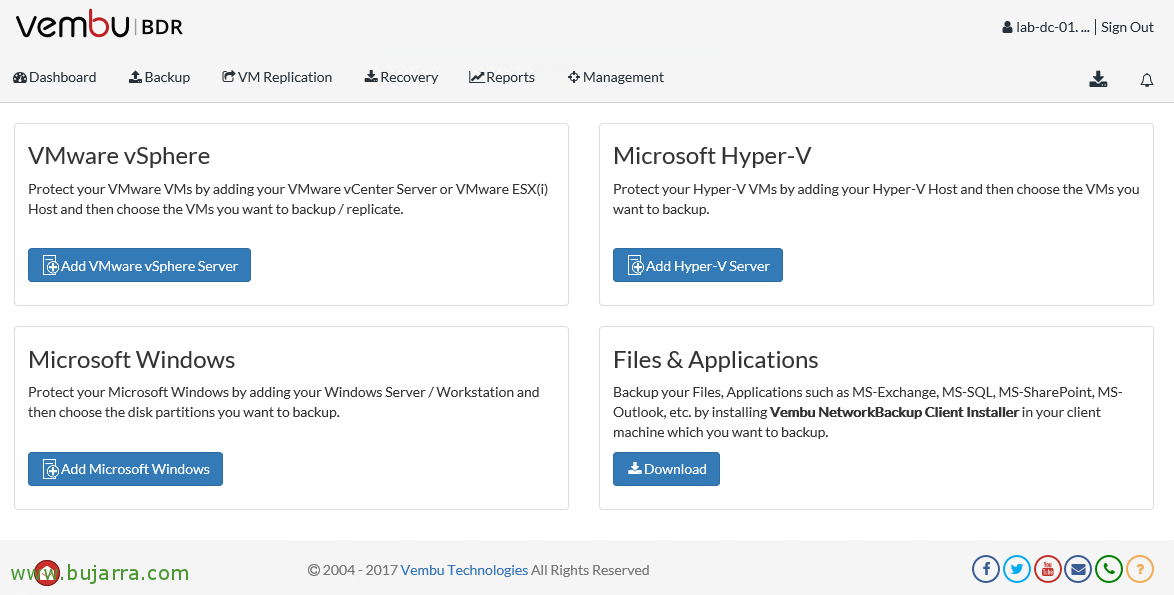
What I said, we will see Vembu BDR, We will install this suit that will give us a solution and support our environment. BDR Backup Server will be able to connect to our:
- VMware vSphere
- Microsoft Hyper-V
- KVM Hypervisor
We can then make backups of virtual machines or replicas, with all the possibilities we normally need! We can also make copies of physical machines or any computer or network PC through a lightweight client, as well as make copies of Exchange Server, SQL Server, SharePoint Server, individual files, Outlooks email… we will see!
Well, let's go with the installation of the Server component. It can be installed on a machine with 1 physical socket and at least 4 Cores, with 8Gb of RAM available. We can install it under any of the following OS: (or in virtual appliance):
- Microsoft Windows Server 2012 R2
- Microsoft Windows Server 2008 R2
- Microsoft Windows Server 2012
- Microsoft Windows Server 2016
- Microsoft Windows 10 64 bit
- Linux Ubuntu LTS 12.04
- Linux Ubuntu LTS 14.04
- Linux Ubuntu LTS 16.04
And to manage it, We will use our browser, as long as any of these are without problems:
- IE v11
- Firefox v28 or higher
- Chrome v34 or higher
If we want to access your documentation online: https://www.vembu.com/guide/vembu-vmbackup-user-guide/Introduction.html
If we want to download the software, we have 30 days to try it totally free: https://www.vembu.com/vembu-bdr-suite-download/
Installing Vembu BDR Backup Server,
Nothing, You will see that the installation has no mystery…

We begin the installation by completing the wizard, After executing the installation binary, click on “Next”,
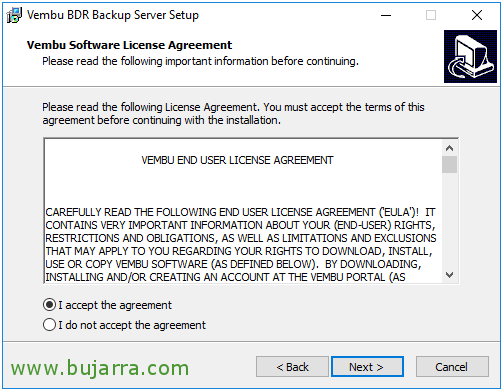
We accept the license agreement, “I accept the agreement” & “Next”,

We can customize the installation if we want, but the defaults will be: The path of the local repository pre-determined in “C:\SGSTORAGE”, Web Console username and password (admin/admin) or backup ports 32004 and 6060 for the GUI. Pressed “Install” to begin your installation,

Click on “Yes” and it will install in addition to BDR Backup Server an installation of PostgreSQL with default values. If we wanted to customize them we would press “No”.
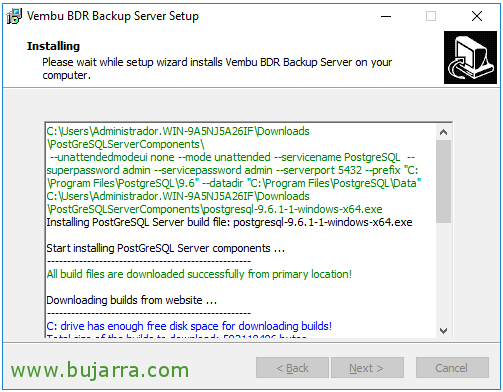
… and nothing we wait a few minutes while you install all the requirements…

And finally, Click on “Finish” and the web management console will be launched, Vembu BDR Web Console!

We validate with the credentials we created during installation & “Sign in”,

We must indicate our correct time zone so that it shows us the time correctly in the Jobs reports, “Save”
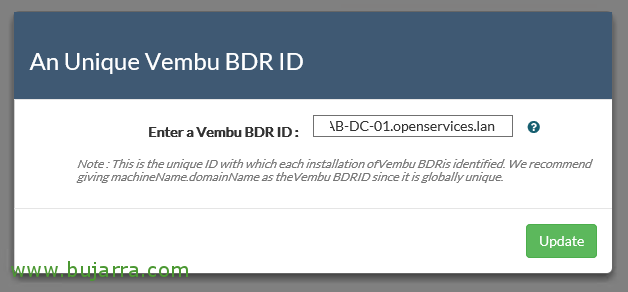
We indicate a unique identifier for Vembu, Typically this will be the FQDN of the server, or whatever you want! Click on “Update”,
And here we leave it! We continue another day with more documents and knowing all the possibilities that this solution will give us. We will see how to connect our virtual or physical platform, We will perform backups and replicas of virtual machines, we will see the possibilities of recovery that we have, Reporting Topics…