Controlling our 3D printer with OctoPrint, The Spaghetti Detective and Home Assistant

Well, I think this will be a wild post, So I'm apologizing to you from now on… Well what? We'll try to see how to install OctoPrint to control our 3D printers, we will continue with The Spaghetti Detective so that someone looks for us during the printing and if something inopportune happens stop the printing, or do what you have to do. And we ended up integrating this with Home Assistant, with the idea of creating automations and centralizing government.

Installing Hassio – Home Assistant

We started a series of super interesting posts, where in this first one we will see the installation of Hassio or Home Assistant on a Debian machine as a container will be quick and easy, From there, it will be time to grow and centralize all our devices so that we can manage them from here. Home Assistant is going to become the brain of our home automation system, From here we will know the status of each device and carry out the corresponding actions that interest us.

Using a fingerprint reader on Raspberry Pi

Imagine the thousand possibilities that having an optical fingerprint sensor connected to a Raspberry Pi gives us, We will be able to capture and identify the information of the fingerprints that interest us and take actions based on it. In my particular case I put it at the entrance to the house, If you find my footprint or those of my family, because it opens the door without the need for keys!

Putting Tasmota in a SonOff with a Raspberry Pi

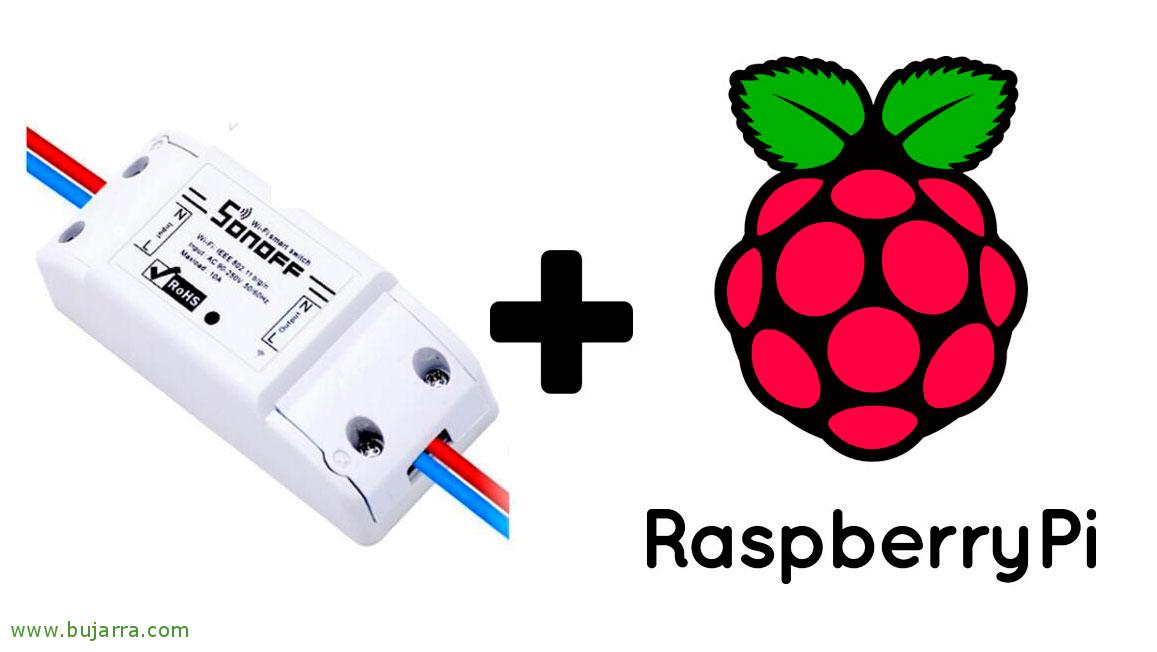
Well, after a while tinkering with these wonderful devices, I wanted to share with you some steps that you may need. The SonOffs are small Wifi modules based on ESP8266 with a relay. Ideal for remotely controlling a lamp… or whatever we need to turn off and on remotely. In this post we will see how to flash them and change the firmware and install Tasmota with a Raspberry Pi; sincerely, I found it to be the simplest option of all the ones I tried and it works with all SonOffs.